Easy Peasy RF AllStar Node
A simple-to-build AllStar node and affordable at $255 out of pocket
The Pieces
Node radio: TYT TH-9000D VHF mobile radio
Adapter: RIM-Alinco for the TH-9000D
Computer: Dell Wyse 5070 thin client
AllStarLink: Debian ISO from AllStarLink.org
AllScan: for node connections
Power supply: old Astron PS I had on hand
Handheld: Retevis RT85 VHF
For those who don’t wish to solder, with this build there is no soldering. If your hands shake a bit, or your eyesight isn’t what it used to be, or you just don’t like soldering: this build could be just right for you.
Node radio: TYT TH-9000D
Recently, I picked up a TYT TH-9000D mobile radio, thinking that I would try making a simplex AllStarLink node with it. Others have already done this, for example:
The TYT-9000D is a clone of the Alinco DR-138. The Alinco comes standard with a DB9 data port installed on the back of the radio. On the TYT, the DB9 is missing, but it is easy to install. The hole for the DB9 is hidden under a cover, and an AMP Mini-CT connector is present on the mainboard. This operation is straightforward, but you can always get an Alinco DR-138 if installing a DB9 is not for you.
I actually have two of these radios. I’m using the VHF model I purchased on Amazon for this build. (Radioddity also carries this radio.) I also have a 70cm model from AliExpress.us that I’m saving for a different project.
Adapter: RIM-Alinco
I used a RIM-Alinco module from Repeater-Builder.com. The principal of Repeater-Builder, Scott Zimmerman N3XCC, proved very helpful as I made some mistakes in my first build. (Once I obtained the correct RIM module, the build went ahead very smoothly.) The schematic and some configuration notes for the RIM-Alinco module are available online.
Installing a DB9 is very easy on this radio. Mine came with an adhesive sticker over the DB9 mounting hole on the rear panel. The RIM-Alinco package has everything you need to install the unit except for tools.
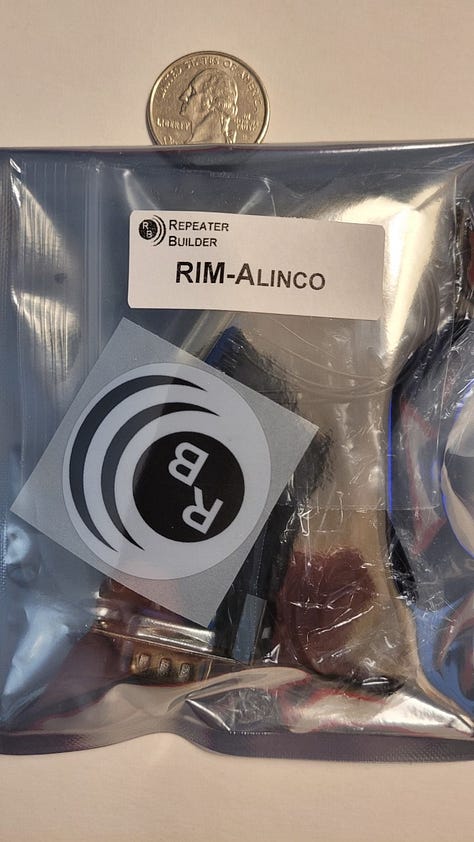
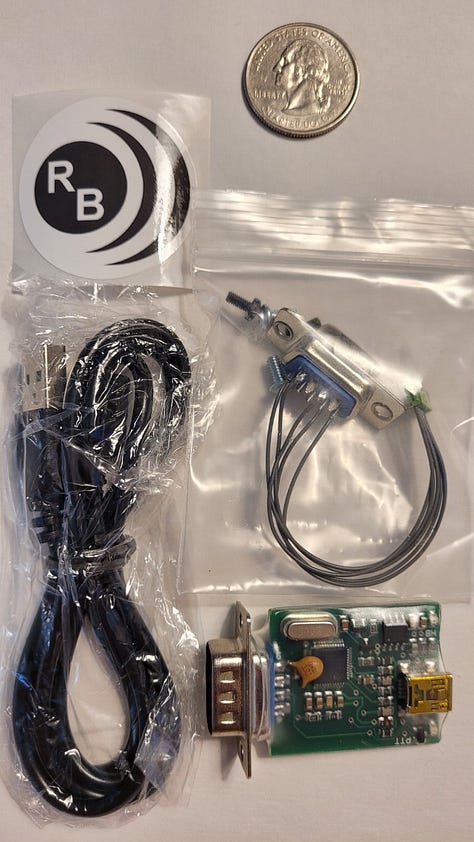
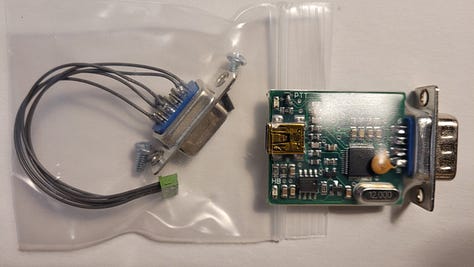
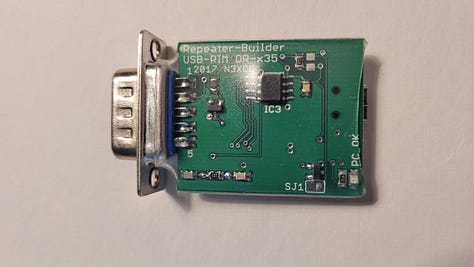
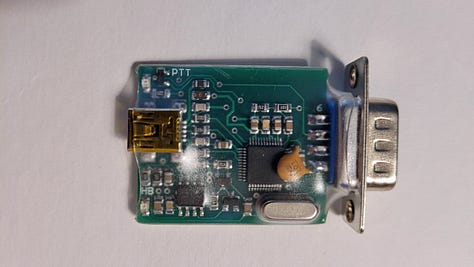
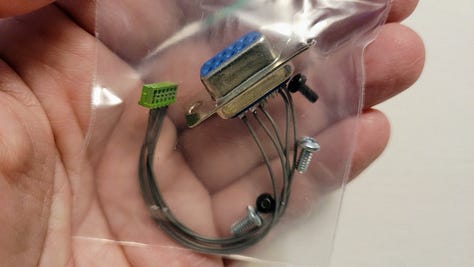
To install the RIM-Alinco, you remove the bottom plate of the TYT radio. Then slide the RIM-Alinco harness through the DB9 mounting hole. Mount the DB9 with the screws supplied in the RIM-Alinco package. Place the wiring harness on the mounting block on the TYT board. Route the wires so they won’t get pinch when you replace the bottom plate. Done.
In the build above, I used a jumper purchased from Repeater Builder. The advantages of this approach are (1) you know it is wired correctly and (2) no soldering is involved. But you can save some money if you want to do a bit of soldering by purchasing a compatible jumper from Digikey. I bought two that were twice as long as needed. When cut in half, I ended up with four jumpers. Cost, with shipping, was about $10.
Computer: Dell Wyse 5070 Thin Client
For a computing platform to run AllStarLink, I chose a Dell Wyse 5070 thin client computer from a seller on eBay. The smaller Dell Wyse 3040 thin client would also work but the 5070 is larger, more of a size with the TYT radio. Size is the only reason I chose the 5070 so if you prefer the 3040, use the smaller device.
AllStarLink: Debian ISO
I installed the AllStarLink 2.0.0-beta from an image file. Find it through the AllStarLink downloads page.
Once installed, I updated it to the latest version, following the instructions on the AllStarLink GitHub page. Once ASL was updated and I had rebooted the thin client, I disabled future updates that could break ASL by running these commands:
# see if asl repo is in apt sources, remove if so
cat /etc/apt/sources.list.d/allstar.list
rm /etc/apt/sources.list.d/allstar.list
# same as above but for file in "Alternative" instructions
cat /etc/apt/sources.list.d/allstarlink.list
rm /etc/apt/sources.list.d/allstarlink.list
This prevents updates to ASL while still allowing Debian to update.
Basic settings for ASL are included on the RIM-Alinco schematic:
AllScan for Node Connections
I’m a big fan of AllScan by David Gleason. This a web page on your node computer that lets you manage your list of favorite nodes, and connect/disconnect nodes. I’ve written about AllScan before and it just keeps getting better.
Of course, I could enter DTMF commands from the handheld radio’s keypad, but AllScan is just much easier.
Power Supply: old Astron
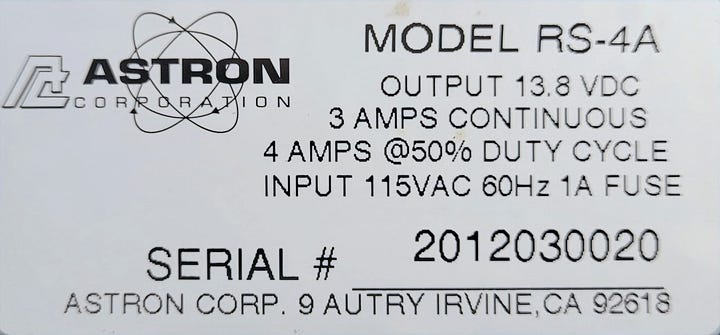
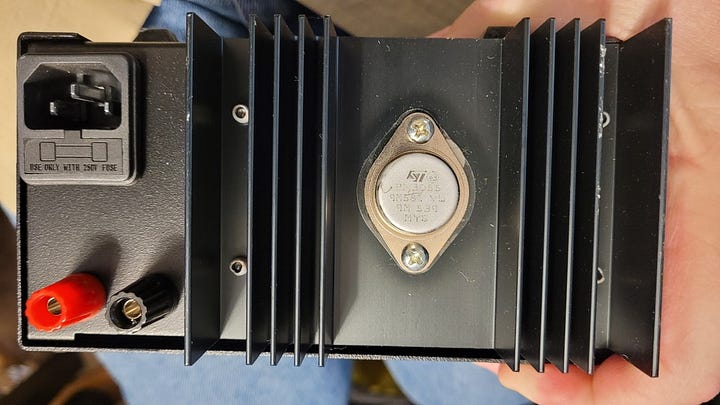
My old Astron power supply (Astron RS-4A)should be sufficient for the TYT radio running at low power, which for this radio is 10 watts. That means the radio is only pulling an amp or less at this power setting, well within the range of the old power supply.
Handheld: Retevis RT85
Nothing says ham radio like an inexpensive radio. The Retevis RT85 does the job. You can grab a pair from Amazon for about $60.
The audio quality is actually pretty good. Here’s a brief recording through node 588413, transmitted to the RT85, from a conversation on node 41288 in the United Kingdom:
In these photos, I’m operating the node on the enhanced Parrot node 55553 with a 50-watt dummy load on the radio.
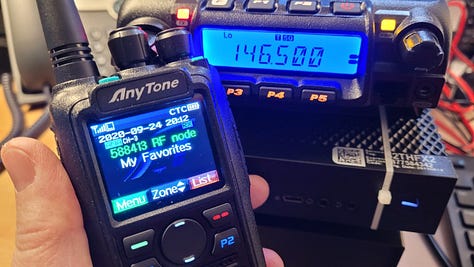
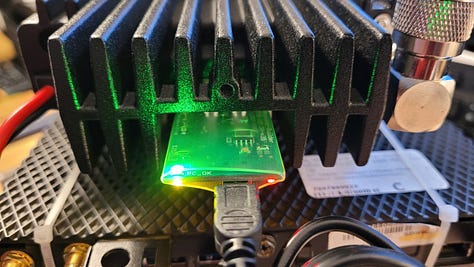
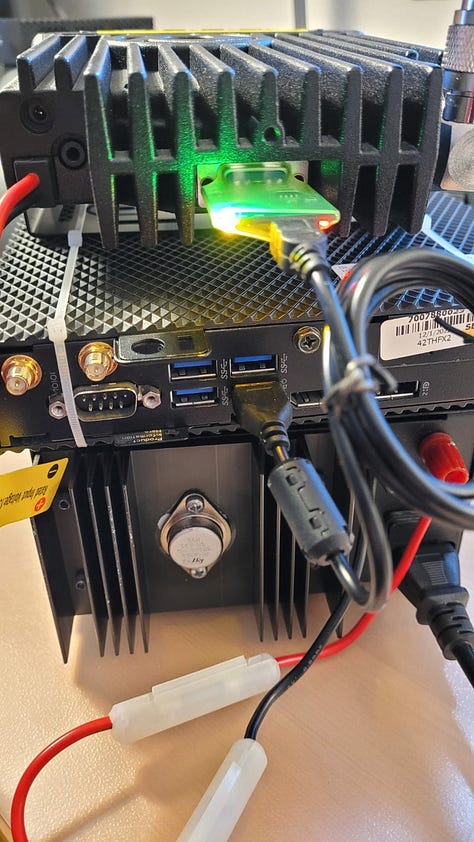
Parrot mode via AllScan:
Bottom Line: Affordable
So what’s the bottom line for this build? My out-of-pocket totaled $255.
$140 for the TYT radio
$50 for the RIM-Alinco
$10 for a wiring jumper from Digikey
$45 for the Dell Wyse 5070
Software: free
Power supply: if I remember correctly, I bought it used for $10


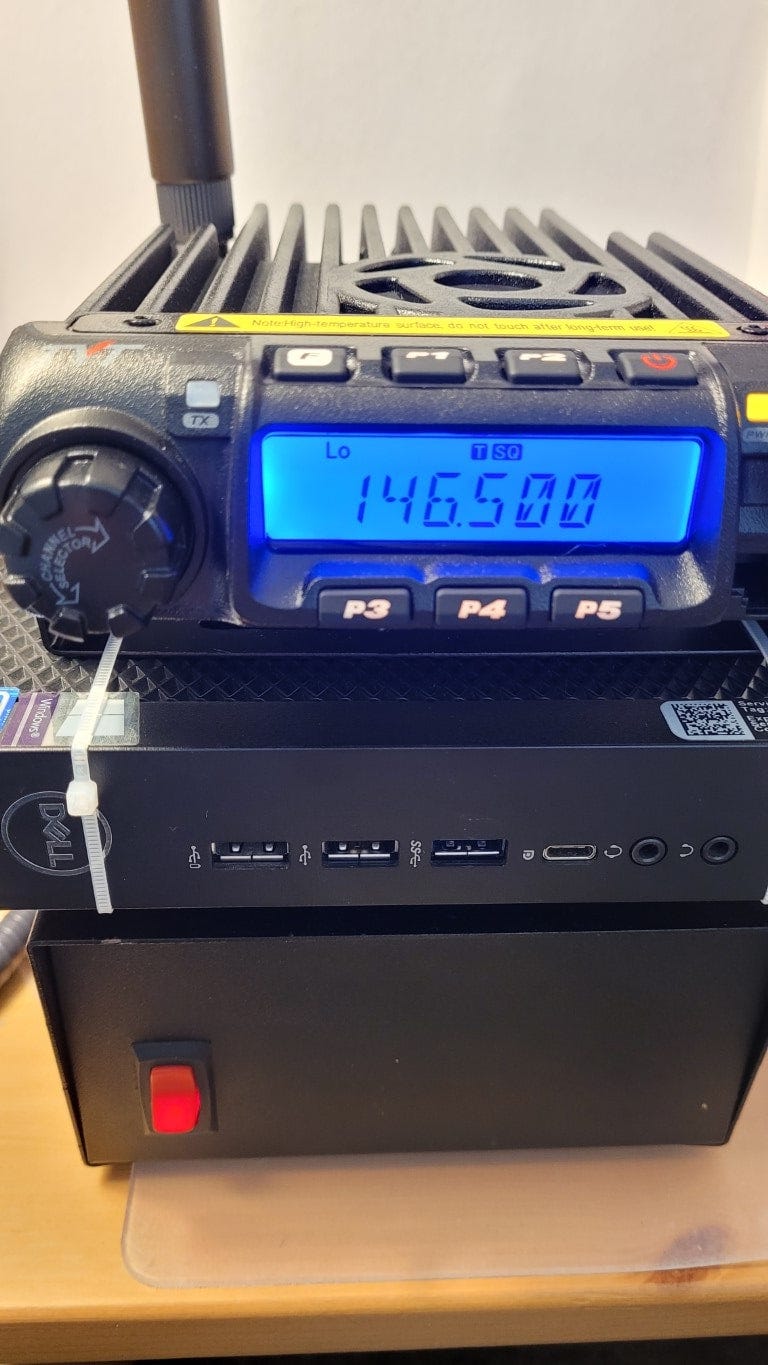


Cooling fan is on the way from Ham Radio Outlet. I replaced the antenna on the TYT radio with a 50-watt dummy load. I updated the information about the wiring between the radio and the DB9 adapter, and the part number for the wire jumper is shown in a screenshot of part of my Digikey order. And I added a few more photos of the rear of the package.
One day later...
[1] The radio gets pretty warm. I'll add a cooling fan to the system to control the temperature.
[2] Audio reports from other AllStar users tell me the audio quality is high but my internet connection is less good. Some packet loss is affecting my transmissions. Nothing I can do about that. I've updated all of my network hardware (including the cable modem) so this particular issue is outside my control, other than to consider a different provider.