Radioddity GD-73A: First Impressions
First impressions of this little analog and DMR radio
Unboxing the GD-73A
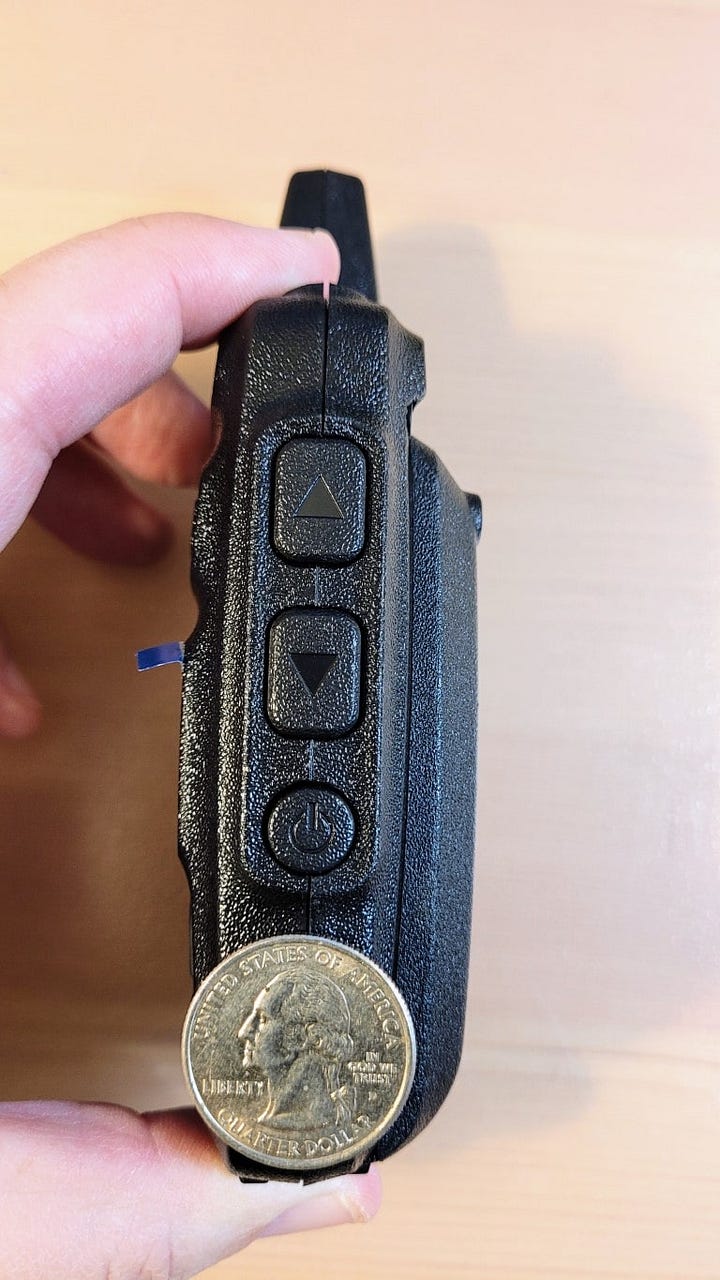
What a cute little thing this is. It fills my medium-sized hand just right and has enough heft to it that I recognize it isn’t a flimsy FRS radio. The plastic body feels stout although it is a little bit slick feeling; that may get better as the factory finish sees some wear. And it will get some wear because the Radioddity GD-73A fits in the pocket of my shirt, perfect for carrying around the house and grounds.
My use case is two-fold: first, as a radio to connect to my ClearNode at home. I don’t want to subject my Yaesu FT-5DR to quite that much wear-and-tear so I’m dedicating the GD-73A for listening to, and transmitting through, my ClearNode. Second, this radio is intended to help me learn more about DMR before I splurge on a more expensive radio.
Motorola says: DMR stands for Digital Mobile Radio and is an international standard that has been defined for two-way radios. The DMR standard allows equipment developed by different manufacturers to operate together on the same network for all the functions defined within the standard.


The GD-73A radio
The European version (GD-73E) is configured for PMR. The version I bought is the GD-73A for North America. This palm-sized radio covers UHF frequencies for analog and DMR. One of the marketing angles is that it is good for use with a hotspot. The ability to have it on all day in my pocket was a big selling point for me.
The radio comes with battery and the charging/programming USB cable. If you lose the cable, not to worry: a normal USB cable will work. Not having another specialized cable to lose/misplace was another selling point for me.
The programming cable for the GD-73 is an included accessory. The USB programming cable has a Type A USB connector for connection to USB port of a PC and a micro USB connector on the other side for connection to the GD-73. This is a standard USB cable, the same as many smartphone USB cables. The cable does not contain any special electronics.
eHam reviews (only 4!) are fairly positive at an average score of 4 of 5 points. Radioddity offers simplified “how to get on the air” instructions as well as the more complete manual online (click here and select the GD-73A/E).
Battery and charging
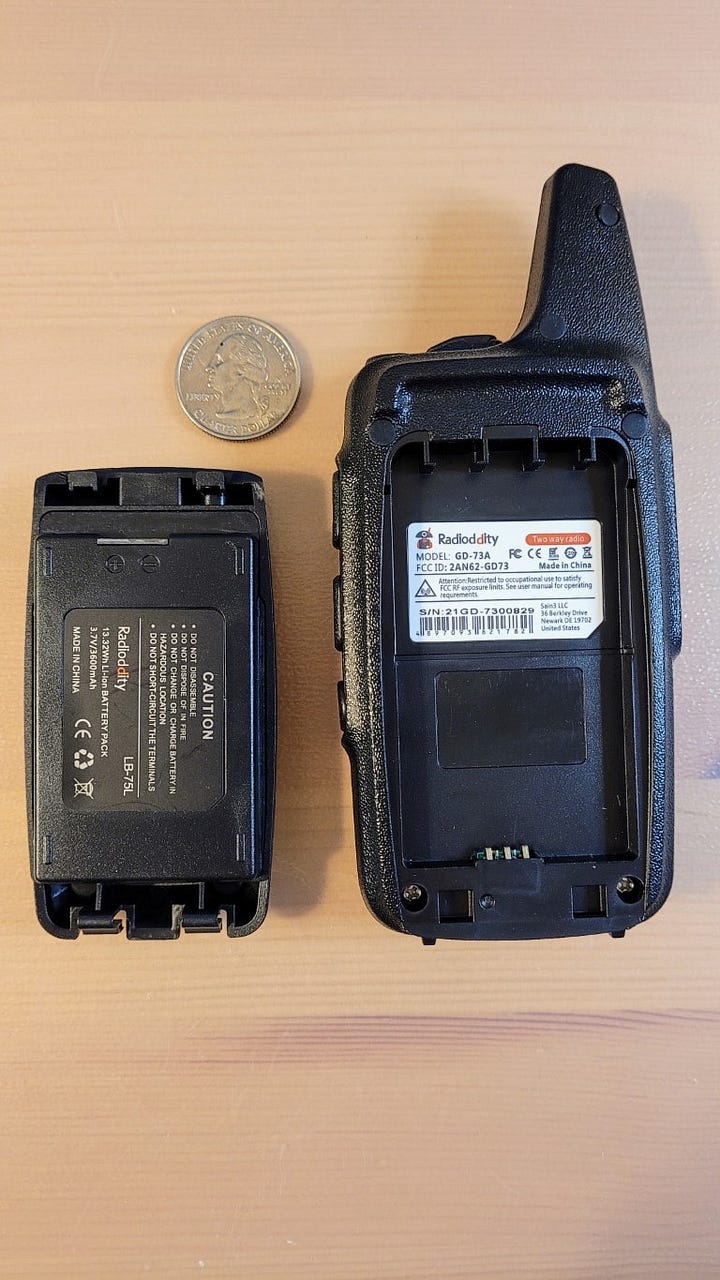
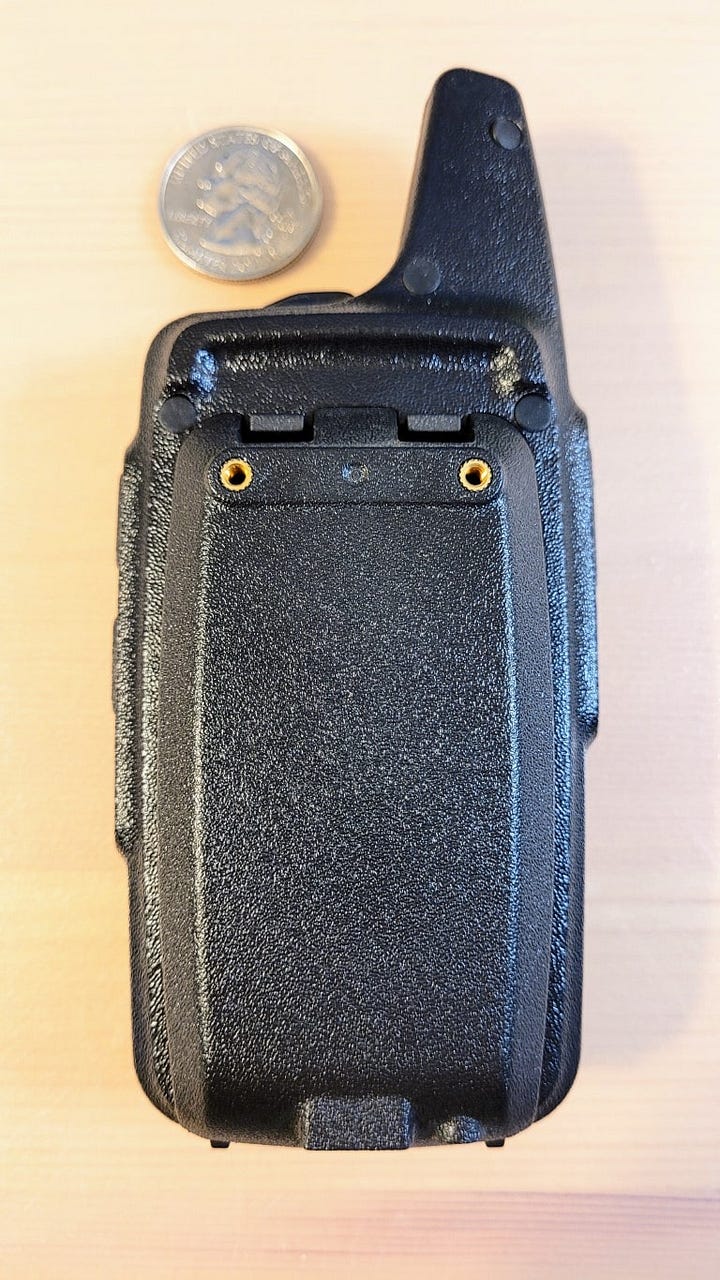
The battery is a slightly chunky attachment but that makes sense since it has 3600 mAh of capacity.
Charging is simple: plug the USB cable into a charger and the other end into the open USB port on the base of the batter.
I found it satisfying to snap the battery into place as the two clips make a confidence-inspiring solid click.
Programming
I don’t have much to say yet about programming. I did punch in the UHF analog frequency for my ClearNode hotspot. That device requires a CTCSS tone on both transmit and receive; this was easy to configure from the radio’s front panel.
Pro tip: use the right USB port
However, where I spent far more time than I should have was on getting the driver installed so my computer could actually see the GD-73 radio. Pro tip: make sure when you go to install the driver that you plug the USB cable into the radio and not into the battery. My working space is a bit dim and the bottom of the all-black radio only showed one open port on the battery, so that’s where I kept plugging in the USB cable. I was not understanding why the computer would not recognize the radio.
When I set this frustrating bit of business aside, I posted my problem to the Radioddity GD-73A/3 group on Facebook. Hat tip to group member Malcolm for pointing me in the right direction!
In the midst of my problem, I had also reached out to Radioddity support and they responded pretty quickly with a thorough, step-by-step explanation of what I should do. Unfortunately, they didn’t recognize that I was using the wrong USB port to connect the radio to the computer, so the very clear directions resulted in more frustration.
(Later, I apologized to the Radioddity support person, thanked her for the thorough, helpful instructions, and also suggested that they add something about there being two ports on the bottom of the radio to their support rubric.)
Once using the correct port, software installation went perfectly
Once I learned that I was using the wrong port, I uninstalled (for the umpeenth time) the GD-73 software and the driver and then started over, using the great directions from Radioddity support. Once I was using the correct port on the radio, the installation of the driver and the programming software went perfectly the first time.
I have not yet programmed any DMR channels or groups into the radio. I’m waiting on getting approved for the PNW Radios, CPS, Codeplugs, Programming and Discussions group on Groups.io. To join you must be a member of the PNWDigital.Net -- WA7DMR -- Ham DMR in the Pacific Northwest group which I am. My plan is to look at codeplugs for other radios and adapt that information to the GD-73 radio.


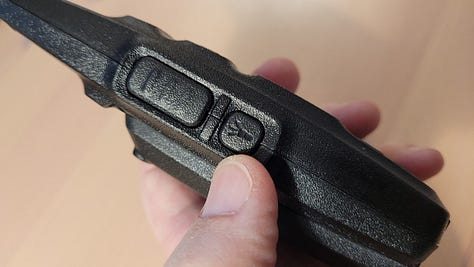
The photos above show the ports on the bottom of the radio, the display (lit and unlit), and the flashlight button (press once for on, again for off) and the LED flashlight on the top (antenna end) of the radio.
More to come once I get this radio programmed and I can get some audio reports from others.


