

Random Wire 141: Hams Over IP, multiple WiFi connections in AllStarLink 3 Cockpit, and resolving Raspberry Pi Zero 2 W issues
July 25, 2025: Hams Over IP, adding multiple WiFi connections through the AllStarLink 3 Cockpit dashboard, resolving some issues with two Raspberry Pi Zero 2 W computers, and more

Today’s issue of the Random Wire is a bit less structured than usual, and the content feels a little light, at least in my opinion. Why? Because I’ve had a very busy week, but it is more than that: it is also due to chance. Some weeks, every project I touch moves along pretty easily toward a successful outcome. Occasionally, I have a week where nothing I work on comes out quite right. That would be this week. Funny thing, though: these are the moments where real learning occurs!
The most exciting things this week? I solved the Bluetooth-not-working problem on my Raspberry Pi Zero 2 W system, and I bought an old Kenwood TS-50S HF transceiver.
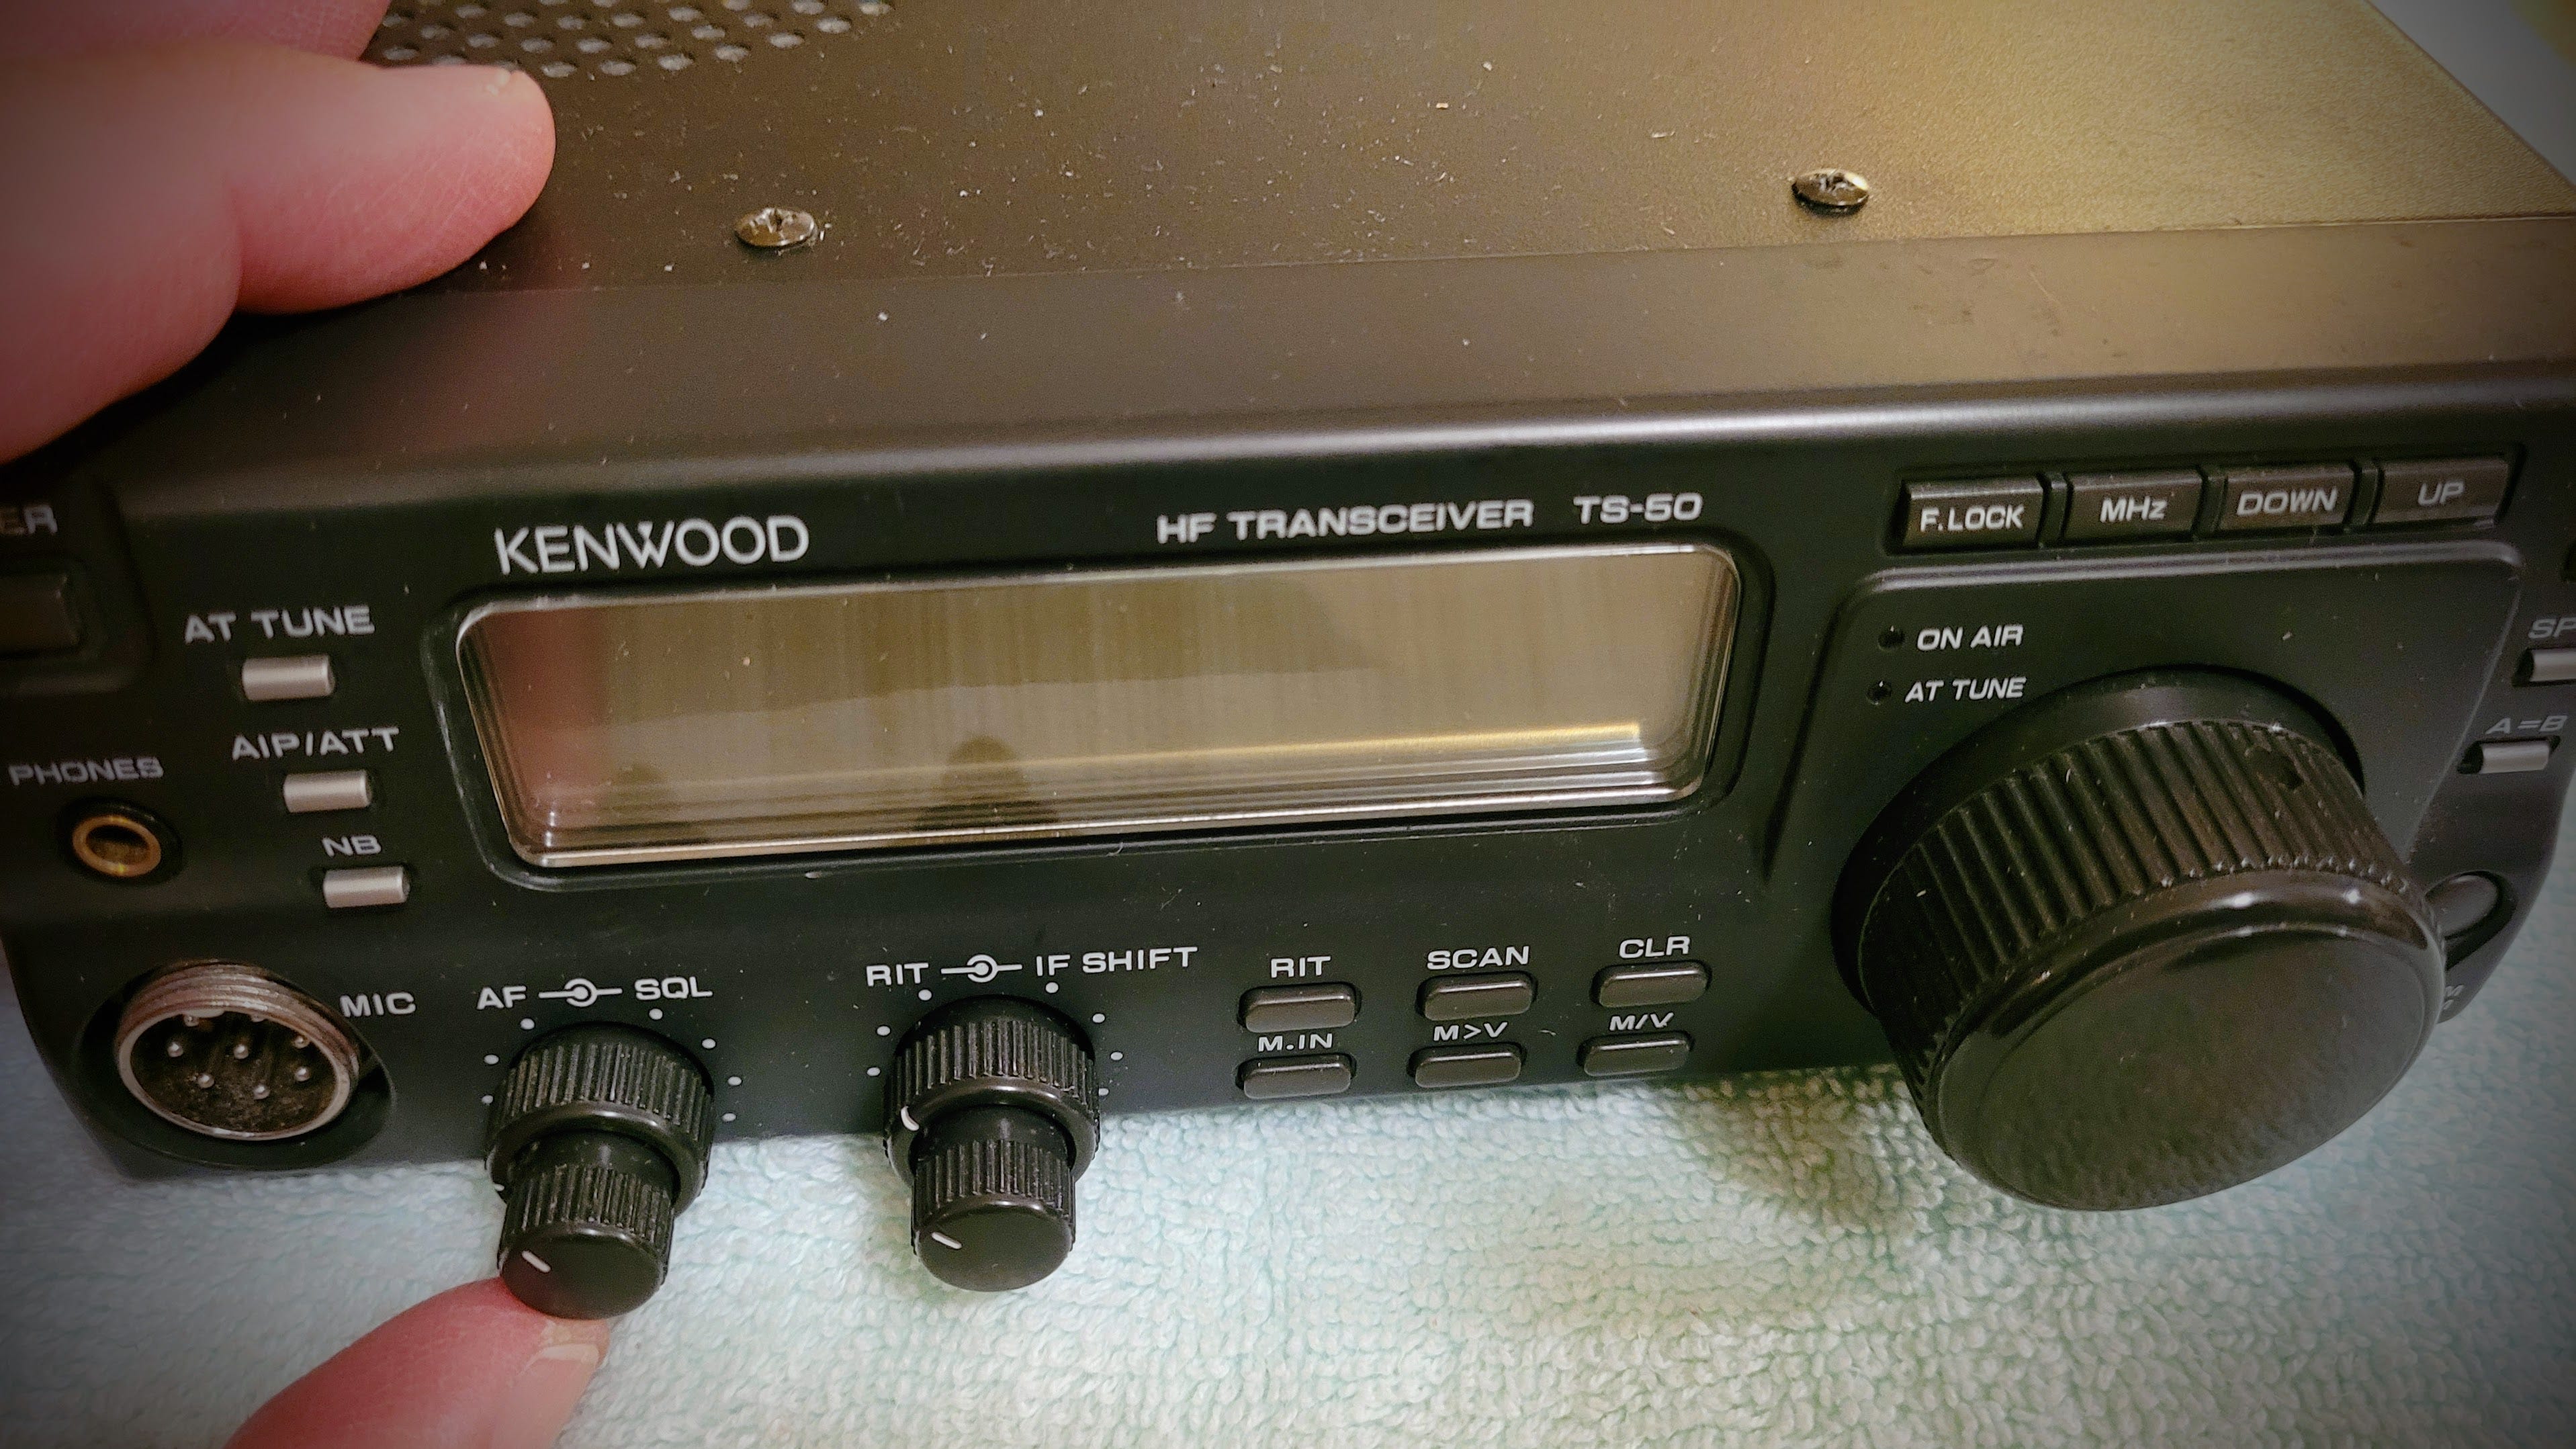
The TS-50S serial number is 90200087 which suggests a manufacturing date of May 2007 but that cannot be right. Published data indicates Kenwood ceased production of the TS-50S in the late 1990s. The radio comes with the original user manual, a complete service manual, and several repair receipts from 2002. I have my fingers crossed that this will be a great little rig.

M17: What is happening now?
The latest news (and this is good news, for a change) is that the M17 Project has forked the WPSD code to continue support for M17. Find the announcement by Michael DK1MI at https://rz01.org/wpsd-m17/ and the code at https://m17project.org/wpsd/. Warning: this is considered BETA software so use your own judgement. The M17 folks have also stood up a wiki page about this fork, at https://wiki.m17foundation.org/index.php?title=WPSD_M17_Community_Fork
So what am I going to do? I’m going to install the beta on my hotspot…after making an image of the current microSD card. My WPSD-based hotspot was working great with the previous iteration of WPSD that included M17 support, giving me confidence that the forked version will work fine. Fingers crossed.
Hams Over IP
With the recent announcement by Hamshack Hotline (HH) of the cessation of their service on August 29, 2025, radio amateurs are turning their attention to the Hams Over IP (HOIP) and Amateur Wire services. You might also have heard of other services HOIP links to, including: Global World VOIP, Hams Over IP Canada, Hawaii Mainland Overseas Allstar Network/AREDN, N2MH Meshphone, and NZSIP.
I have HOIP working on the Groundwire app on my Android phone, but I’ve not been able to get it working (yet) on my Polycom SIP phone. Therefore, most of the HOIP-related content I had prepared for this issue is delayed until I can document how to successfully move from HH to HOIP.
I am trying to make this transition. First, I changed the configuration on my SIP phone, replacing HH information with my HOIP account data. That did not work. When you provision HH on a hard phone, it takes over line 1…and a bit more. I’ve found HH settings in several places in the phone’s configuration screens. I reached out to the HOIP folks on Discord who suggested a factory reset of the phone (done) and following their wiki guidance (done) but the phone is still not working with HOIP. I’m in head scratching mode at the moment, trying to figure out if I “fumble fingered” some bit of information or if something else is just not right. I am certainly living up to the moniker my IT friends gave me years ago when I was in state service: he who breaks things.
By the way, HOIP has been inundated with new requests for extensions. This is a direct result of HH announcing they are stopping service on August 29, 2025.
I am including in this issue some basic information about HOIP for those who might be thinking about getting a HOIP number.
Do you have a HOIP number?
To use Hams Over IP (“HOIP”), you need a HOIP extension number. Fortunately, the HOIP wiki gives you a great start: https://hamsoverip.github.io/wiki/guides/user/getting-started/
How will you use your HOIP number?
How will you be using your HOIP number? You can configure a SIP phone and have voice-over-IP phone service with other radio amateurs. In HOIP parlance, physical phones and software phones are called endpoints.
For a hard phone endpoint
For a “hard” phone, the wiki provides detailed instructions for various phone models. If you are making the jump from Hamshack Hotline (“HH”) to HOIP, please be aware that the list of HH-supported endpoints is shorter with HOIP, so make sure you are using a HOIP-supported endpoint. If your HH phone is not listed as supported by HOIP, that doesn’t automatically mean it won’t work — it just means they don’t have a guide for it yet. If your phone is not listed, you may be a good candidate to help write a HOIP guide for the phone model you are using.
For a soft phone endpoint
You are not limited to hard phones with HOIP. Currently supported soft phones are Groundwire, Jami, and Zoipier. I just reconfigured my Groundwire app from HH to HOIP and found it was pretty easy — I deleted my HH account in Groundwire and added my HOIP details. The HOIP guide for Groundwire didn’t exactly match my app, but it was close enough that I was able to get HOIP working.
Using HOIP with AllStar
Your HOIP account can be linked to an AllStar node, allowing others (and you) to dial in and use your node. The process requires that you carefully edit your node’s iax.conf and extensions.conf files. Once that is done, you request a new extension from HOIP. It is that new extension number that people would dial to connect to your AllStar node over HOIP.
Using a HOIP conference bridge
A list of existing conference bridges is available in the HOIP wiki. Many of the conference bridges are public, meaning they are available to licensed radio amateurs to use for group conversations. To use a bridge, simply dial the bridge number just as you would a HOIP extension number.
If you wish to create a new conference bridge:
Please note that you MUST have an extension on the system before you can request and be approved for a conference bridge, a RF Link extension or an audio services extension.
I’ve not done this (yet), but I imagine that the help desk process will include questions about why you need a permanent conference bridge.
Audio feeds over HOIP
A variety of audio feeds are available over HOIP. You can dial in and listen to music, news, and even the Amateur Radio Newsline and ARRL Audio News.
Adding wifi connections to AllStarLink 3 Cockpit
I configured my tiny AllStar node 578495 (built on a Raspberry Pi Zero 2 W) to announce the local IP address when it boots up…but it didn’t. That’s when I realized I had not enabled the hotspot service in my cell phone. Not hearing the IP address being announced revealed the problem: no IP announcement = no connection!
When I installed the operating system, I opted to try the AllStarLink 3 Cockpit system. I wasn’t sure that the Raspberry Pi Zero 2 W had the horsepower and memory to handle it, but it actually works well. Sometimes it’s a bit slow, but it does work.

Add wifi connections
To manage wifi connections, click Web Admin Portal, then click WiFi manager in the left column. This screen results:

In the Configure a WiFi Network space, the screen says: “Adding an SSID that already exists will result in the original SSID being replaced.”

I thought that meant the new connection would replace any pre-existing connection, but I was wrong. It literally adds a new connection and preserves the previous connection, unless the new connection is the same SSID as the previous connection, in which case it replaces it. I added my cell phone to use it when the phone is in hotspot mode, and after hitting the Save Network button, I could see the original connection and my new connection were both in the list of configured wifi networks:

As long as I’m on this subject, I’m accessing the Cockpit over a Tailscale connection. I’ve tried using the local IP address inside the skilled nursing facility where my wife is receiving treatment, but that address is not accessible. The security system here has me locked out, even for machines on the same LAN. But using the Tailscale address of the node is letting me reach it. It’s an ugly way to get this done (the node is literally 30 inches away from my laptop) but it’s the only way I’ve been able to get through the WatchGuard appliance and the restrictions it places on visitor internet access. I’ve tried other VPNs but only Tailscale is working.
Raspberry Pi Zero 2W time sync was not working
After some internet searching and fiddling, I resolved a problem with my tiny node 578495 built on a Raspberry Pi Zero 2W platform. The system time was not updating. To be more exact, it was fine when I checked date in a terminal window, but it was wrong in the AllStarLink 3 Cockpit.
Having the time off is more than a cosmetic problem. The time was so far off that I could not update some parts of the operating system, so getting time synchronization running right was important.
Even though the time settings in the Cockpit dashboard refer to NTP (network time protocol), it appears Cockpit actually uses the timesyncd.service to sync time.
I checked to see if timesyncd.service was running on the node and the service was not found. (To do this, run sudo systemctl status systemd-timesyncd in a terminal window.) Not found meant it was time to install timesyncd:
sudo apt update
sudo apt install systemd-timesyncd
I noticed that installing systemd-timesyncd also uninstalled ntp. That was a surprise. After answering prompts to install the service, I started it:
sudo systemctl start systemd-timesyncdIt still wasn’t synchronizing time in the Cockpit dashboard, but that was probably because at that moment, I was behind a very restrictive firewall. When I got home, I started the node and let it run for a while. When I checked, the time synchronization was working fine.

Problem solved.
Bluetooth wasn’t working on my RPi Zero 2 W
I’ve been trying to get Bluetooth to operate on my tiny AllStar node built around a Raspberry Pi Zero 2 W. The system fails to find a Bluetooth controller. I’ve invested about six hours in trying to get the system to see a Bluetooth controller.
Rather than keep tilting at this windmill — and wondering if I have a hardware problem with my RPi board — I bought a new RPi Zero 2 W (actually, an RPi Zero 2 WH which has the GPIO headers already soldered in place). I received it a few days ago.
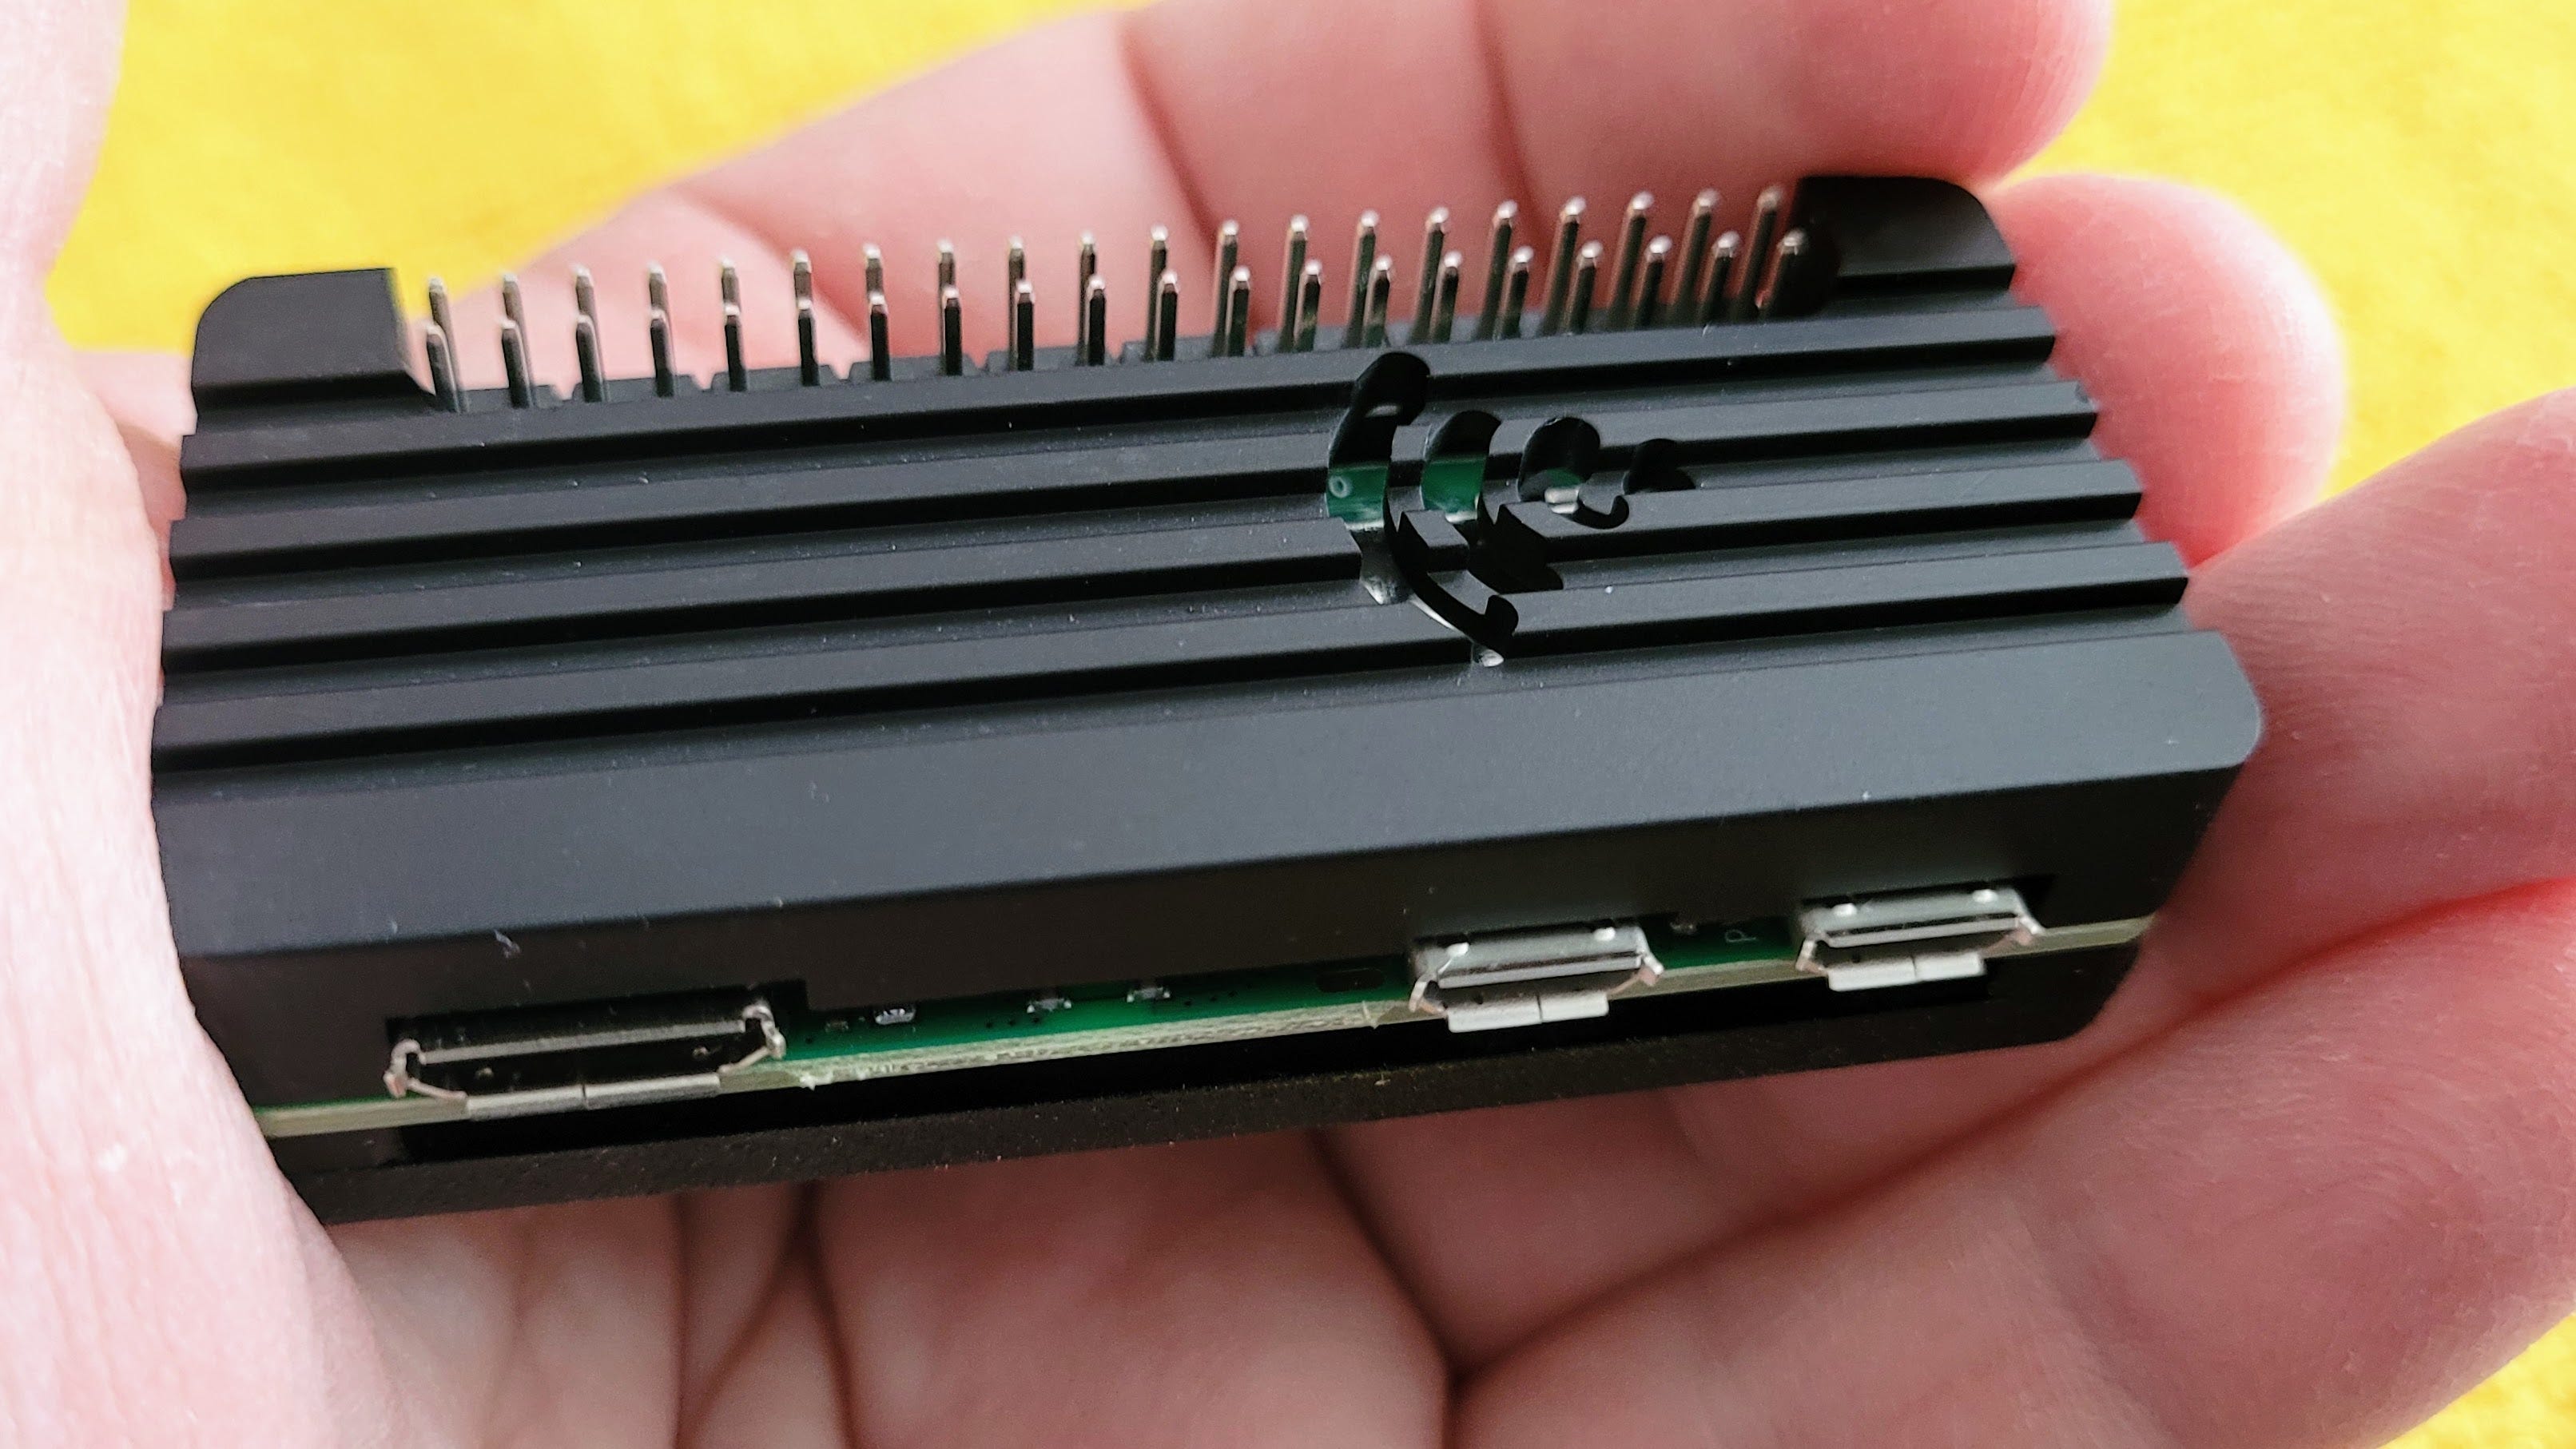
Built the second node
Here’s a gallery of what I received.


Putting the pieces together yields a nice-looking node that feels a little bit heavier than one might expect for this platform because of the weight of the aluminum cover plate.
ASL installed and updated
I used the Raspberry Pi Imager to burn a fresh AllStarLink 3 image to a 32-gigabyte microSD card. After booting up the system, I ran sudo apt update and sudo apt upgrade to make sure everything was up to date. (Note: I actually did the apt update / apt upgrade dance three times, until apt update finally said all packages were up to date.)
Checked timesyncd, all good
With my first RPi Zero 2 W node, timesyncd was not running. In this install, it was. (This makes me think the install of my first node didn’t go quite right.) Since I was doing this behind the skilled nursing facility’s draconian firewall, were probably blocked.

Once I got home, I checked and timesyncd was working fine.
What about Bluetooth?
I encountered the same situation with node 2 as I did with node 1. This was an important discovery because it meant my problem was unlikely to be with the hardware. I turned my attention to searching for software issues.
Eventually, I found this in the FAQs (I bolded the significant sentence below):
On the ASL3 Pi Appliance, the system comes pre-configured for
/dev/serial0(formerly/dev/ttyAMA0) accessibility. That means that Bluetooth and the default serial console are disabled. Any directions requiring editing ofconfig.txtorcmdline.txtare unnecessary with the ASL3 appliance.
Since I’ve already spent hours on this, I took the next step: I posted a request for help to the AllStarLink community forum. Here is my post:
I have been unable to get Bluetooth working on two AllStarLink 3 appliances built on Raspberry Pi Zero 2 W boards. This appears to be by design (see https://allstarlink.github.io/basics/incompatibles/#pi-serial-ports-available-by-default). I want to use a BT keyboard with my ASL node because all of my physical ports are in use. Is there a way to enable BT in this configuration?
One of the admins (thank you, WA3WCO) posted a possible solution:
If you look at the end of the
/boot/firmware/config.txtyou will see: dtoverlay=disable-btThat line was added to make life simpler for those with a Raspberry Pi's with an installed PiHat that also needs access to the serial port. You "may" be able to remove (or comment out) that line.
I gave that a try and found his suggestion worked. At the end of the /boot/firmware/config.txt file, I commented out that one line and rebooted.
[all]
# dtoverlay=disable-bt
enable_uart=1
After that, from the CLI, issuing sudo bluetoothctl worked. Then agent on and default-agent, and finally scan on to find available BT devices.
When the correct device was found, type pair XX:XX:XX:XX:XX:XX where the XX's are the device address shown in the scan results. Once you pair the device, then you issue connect XX:XX:XX:XX:XX:XX to make the BT connection.
My Bluetooth keyboard does not work in the Cockpit web interface because I’m accessing that interface over an HTTP connection. My 7" monitor is directly connected to the RPi Zero 2 W's miniHDMI port and this is the screen that responds to the BT keyboard. Also, I noted that the BT connection did not persist after rebooting. That makes using a paired BT device a bit less convenient.
Coming up
Some projects scheduled for Random Wire 142 include:
zBitx QRP HF radio. The new zBitx radio arrived. I also had to acquire a BNC-to-PL259 adapter for my mag-mount antenna (ready to go) and the Radioddity HF-009 portable antenna (shipped, waiting for delivery). I have flat-top 18650 batteries and have charged them (the radio takes two). And I have an auxiliary microphone. I drive by a Harbor Freight store every day so I’m pretty sure a new Apache case is in the cards, too. There are many things to try with the zBitx, especially the built-in FT8 capability.

zBitx radio WOUXUN KG-UV9D Plus radio. This arrived the day Random Wire 140 was published. I’ve tried it with my AllScan ANF101 AllStar full-duplex node and it seems to work well. The audio quality is not quite as nice as the BTECH UV-PRO but it does seem to be a full-duplex handheld radio. This radio might be an affordable, modern option for radio amateurs who like to work satellites.
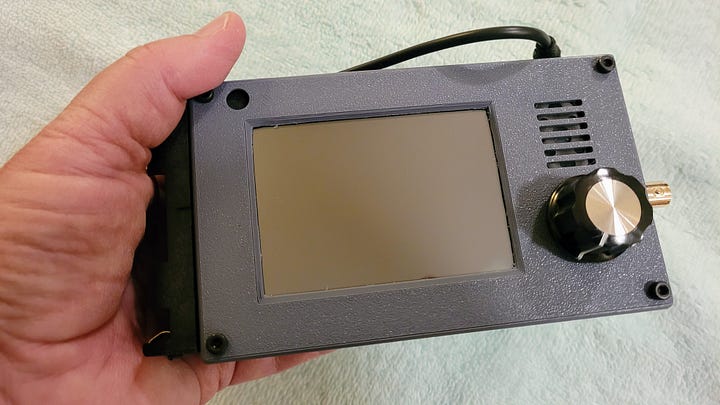
Finishing my tiny portable node. I published on this in RW 140 but have a few more ideas to make it better, and I hope subscribers have some ideas, too. I have an HDMI-to-miniHDMI short cable arriving soon so I can connect the Raspberry Pi Zero 2W to the seven-inch screen in the Apache case lid. I also have some adhesive rubber feet to put underneath the node so it stays put on a desk. I’m thinking about mounting the node itself to a piece of thin polypropylene cutting board that could be turned and one end set on the edge of the Apache case for better access to the front of the node during operation. And I’m toying with the idea of mounting a USB-C port on the Apache case so that I can recharge the node battery (and perhaps the Bluetooth keyboard) without removing the node from the case. I have a new PRYME-brand speaker-mic to test (so far, I like it the best). There is always the possibility of mounting a remote speaker to the node case, too.
New-to-me Kenwood TS-50S HF transceiver. This week, I purchased a well-loved Kenwood station that includes a Kenwood TS-50S radio, Kenwood antenna tuner, Kenwood power supply, and Kenwood SWR/PWR meter. I’ve only had time to pull the items out of the boxes and check to see what cords are missing. I’ve ordered a battery-to-PowerPole adapter so I can use my big LiFePO4 with the radio. I have a couple of simple antenna systems on order and my intention is to use the TS-50S as a portable radio, perhaps getting back into POTA activities.
Bought a Raspberry Pi 5. I’ve used most of the other Raspberry Pi platforms, but I’ve never tried an RPi 5…so I bought one. Some parts arrived but not yet the RPi 5. I have an Argon case for it, but the NVME base for the case hasn’t arrived. (First impression? I pictured the system as being physically larger, but it’s a tiny thing!) The M.2 NVMe 1-terabyte drive arrived. (Why a terabyte? Why not!) I also bought a good power supply for the RPi. Photos of some items are below. I’ll build the system over the weekend and probably configure it as an AllStar node with a full desktop installed. This will be fun.


Miscellaneous (life beyond radio)
Knife sharpener
I carry a pocket knife every day:
It’s not fancy. What makes it my favorite is that it just works. The blade flips out easily. I like having the all-metal tweezers and toothpick available. (The tweezers are very handy for extracting stubborn microSD cards!) I’m a fan of micarta handles. The deep carry clip is my preferred style.
But it’s a knife, so it has to cut things, right? Fortunately, the Nitro V blade is tough enough for how I use it (opening boxes, cutting open plastic clamshell packaging, and cutting up food) and it is easily resharpened. Of course, to sharpen the knife, one must have a knife sharpener of some kind.
My favorite, utilitarian knife sharpener is the SHARPAL:
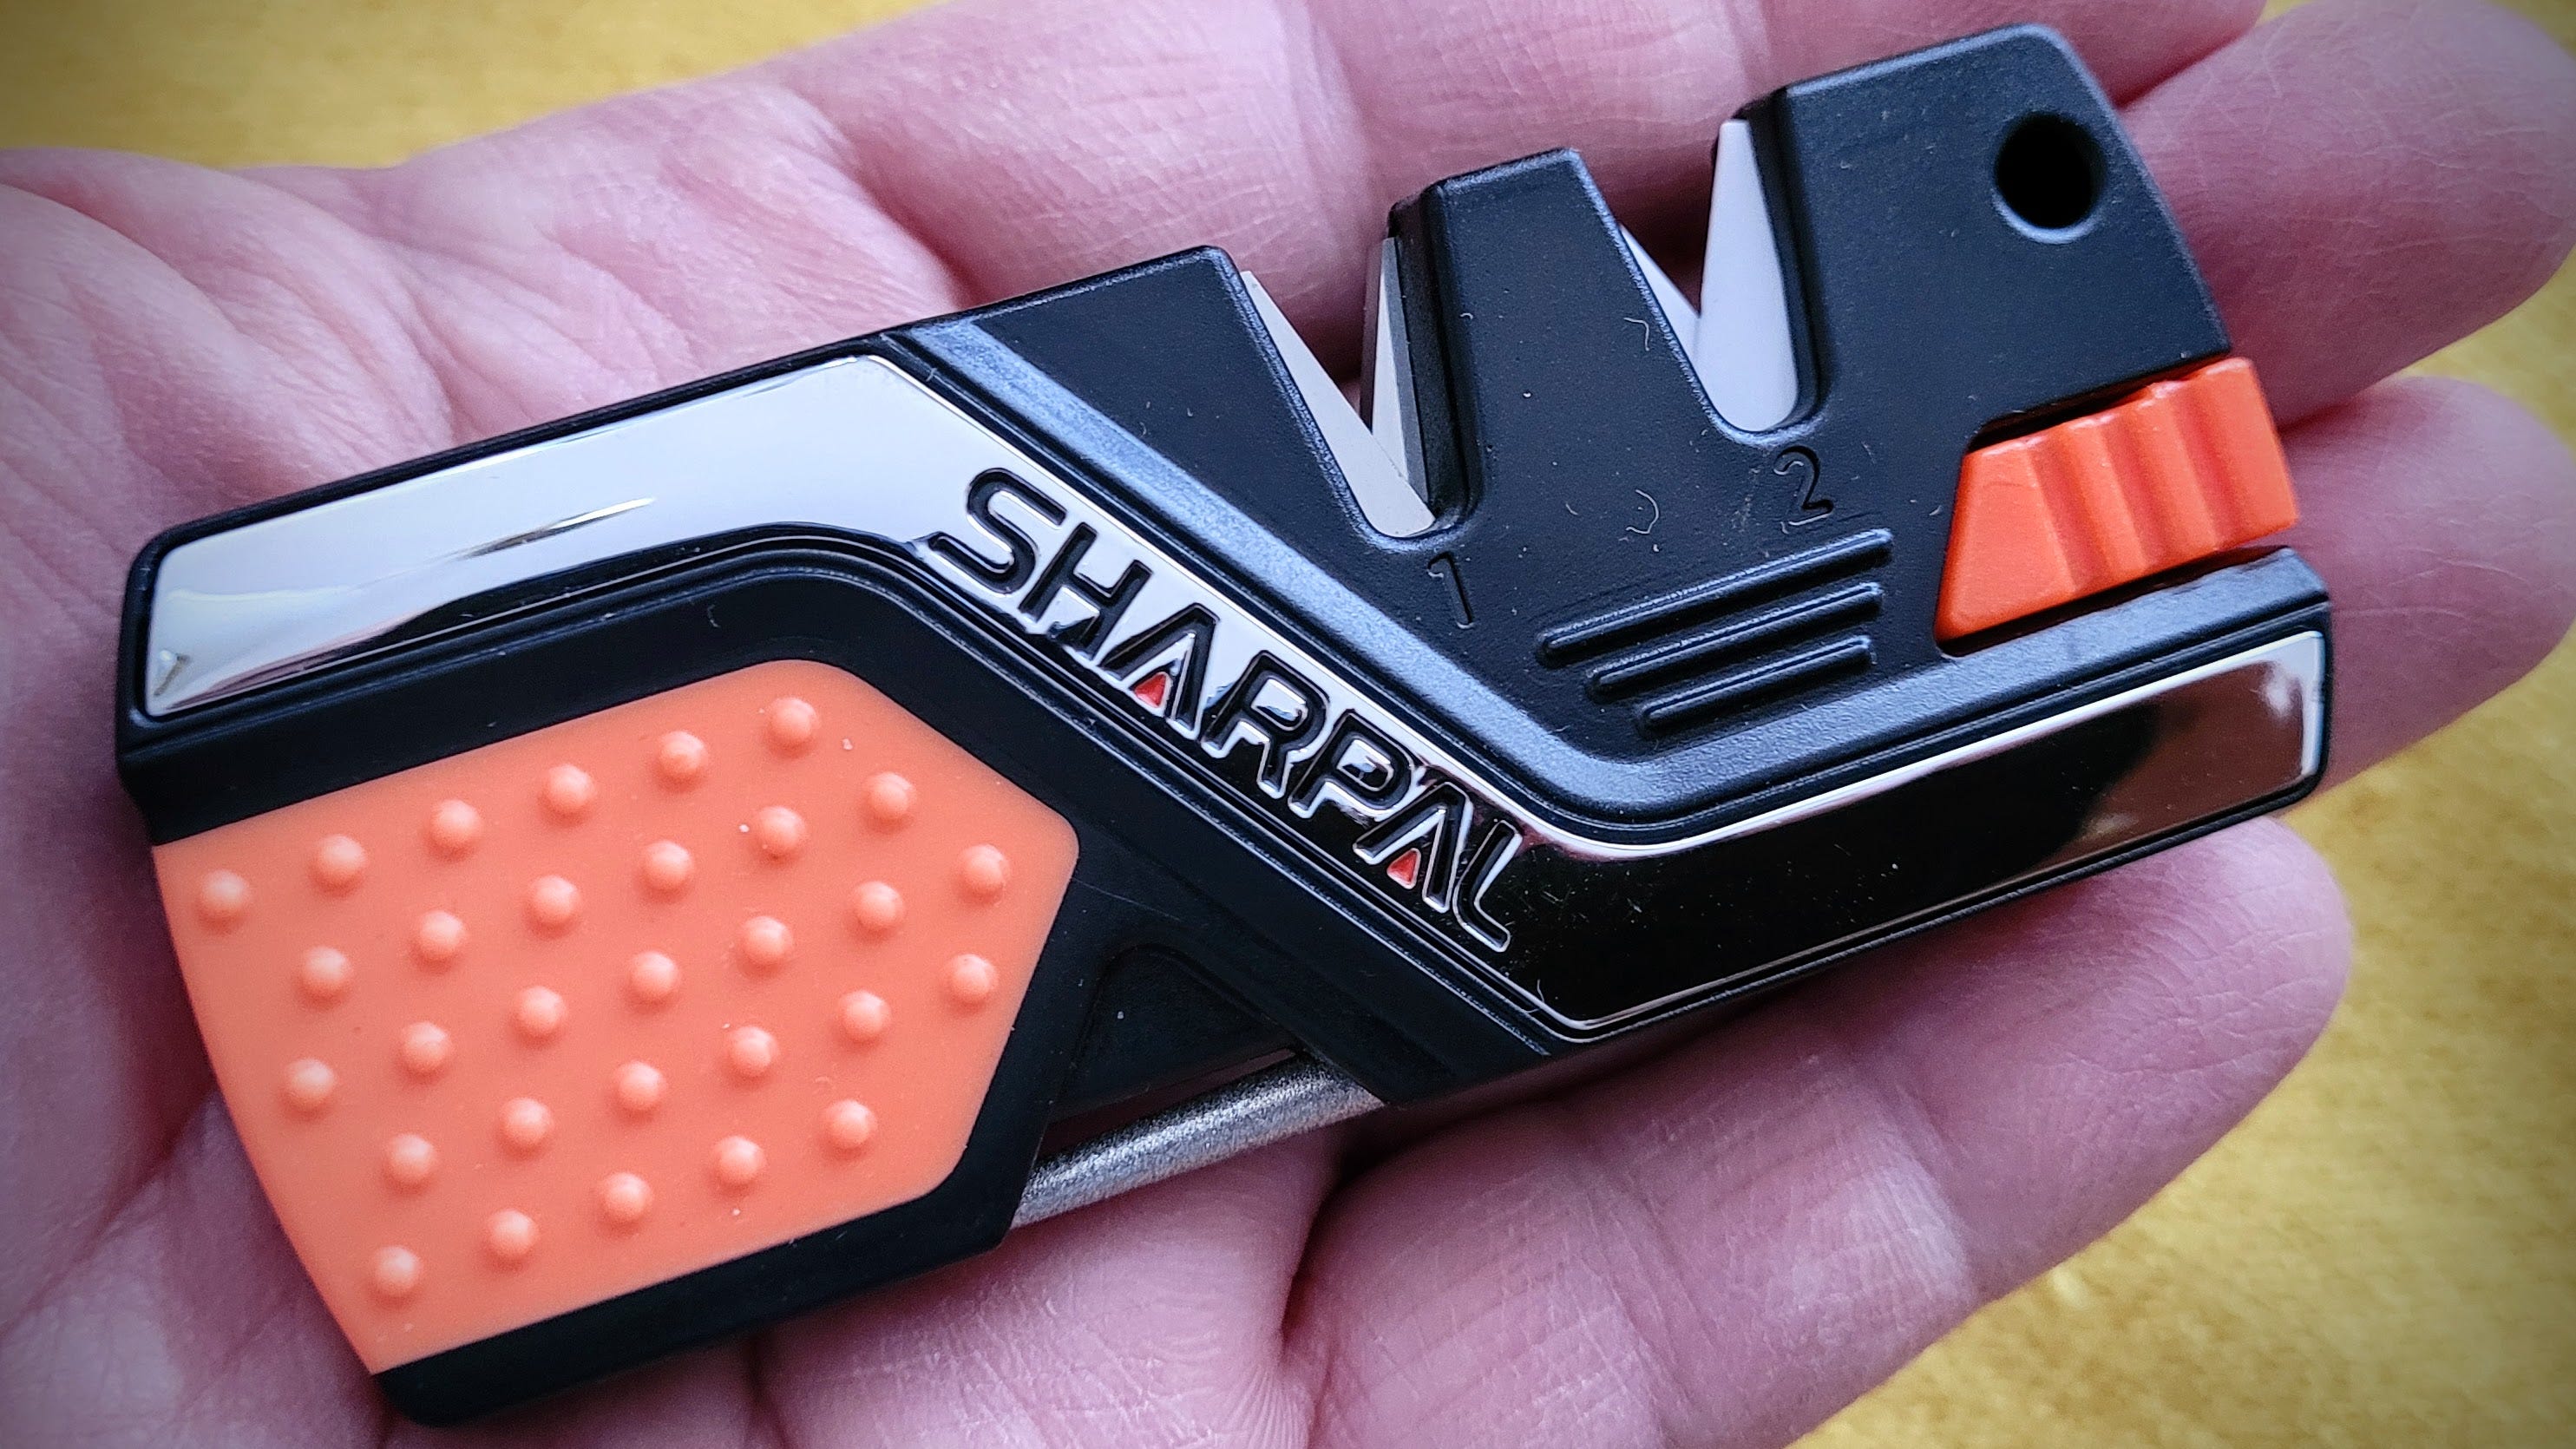
At only $10 from Amazon, it provides great value and I don’t worry about losing it.
In the following photo, you can see the fire starter rod extracted from the body of the sharpener. (Per the user manual, you scrape the fire starter rod through the #1 slot with steel carbide sharpening blades. An Amazon user says you can also simply scrape a knife blade down the length of the rod.) The diamond sharpening rod is rotated out of the SHARPAL body so you can see how it is tapered.
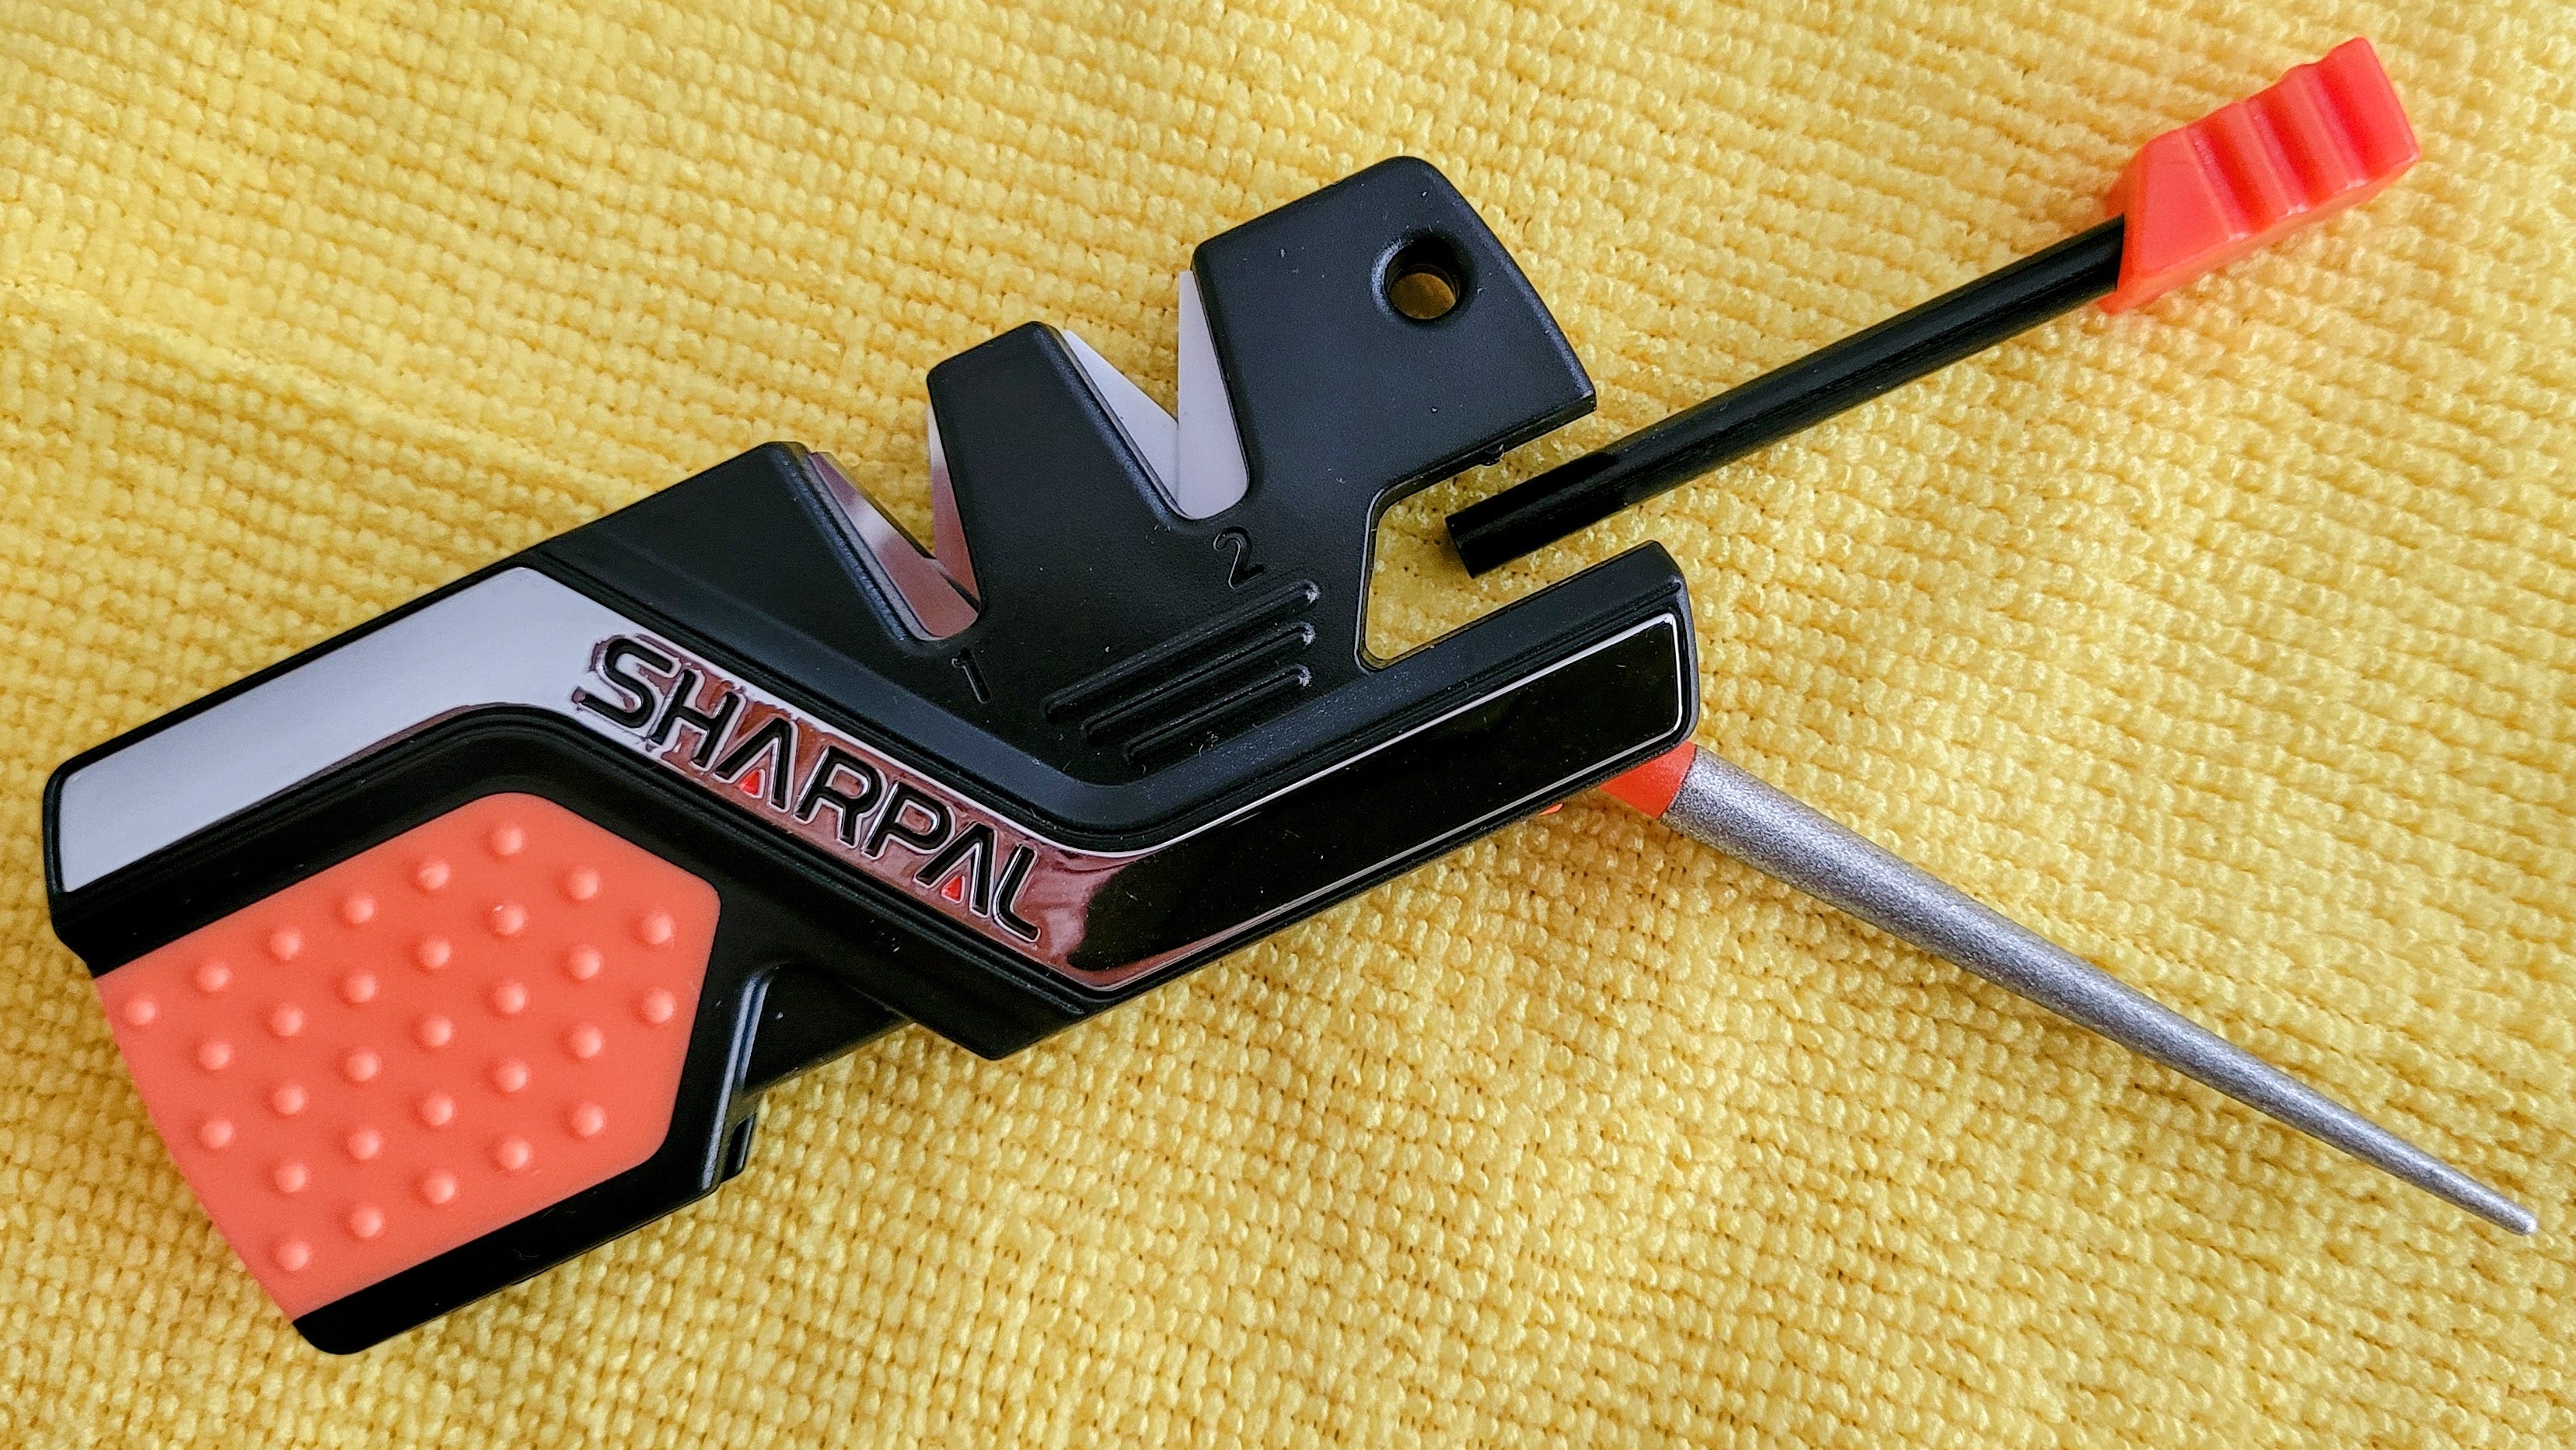
Is this something you’re going to want to use on expensive knives? I doubt it. But for everyday sharpening of my everyday carry utility knife, it’s perfect. It’s small, light, and easy to use. The fire starter rod, diamond sharpening rod, and emergency whistle provide added value.
This knife sharpener lives in the glove box of my pickup truck, taking up almost no space but it is always there when I need it.
Flashlights
If you have a thing for flashlights (like I do), read on. Otherwise, this is a good spot to skip to the “73 to all” closing.
I like really good flashlights, but I find I don’t take them with me because I don’t want to damage or lose them. (This applies to really good knives, too.) Instead of buying great flashlights, I look for good devices at a price point that provides exceptional value.
With that in mind, I picked up a few not-great flashlights that are quite good enough, especially for the price. I have some extra 18650 batteries that need to be utilized so I searched for decent (but not great) flashlights that would utilize this battery size. I’m also a bit tired of black tactical flashlights, so I was looking for a subtly different color. This GearLight flashlight in “Desert Tan” fit the bill:
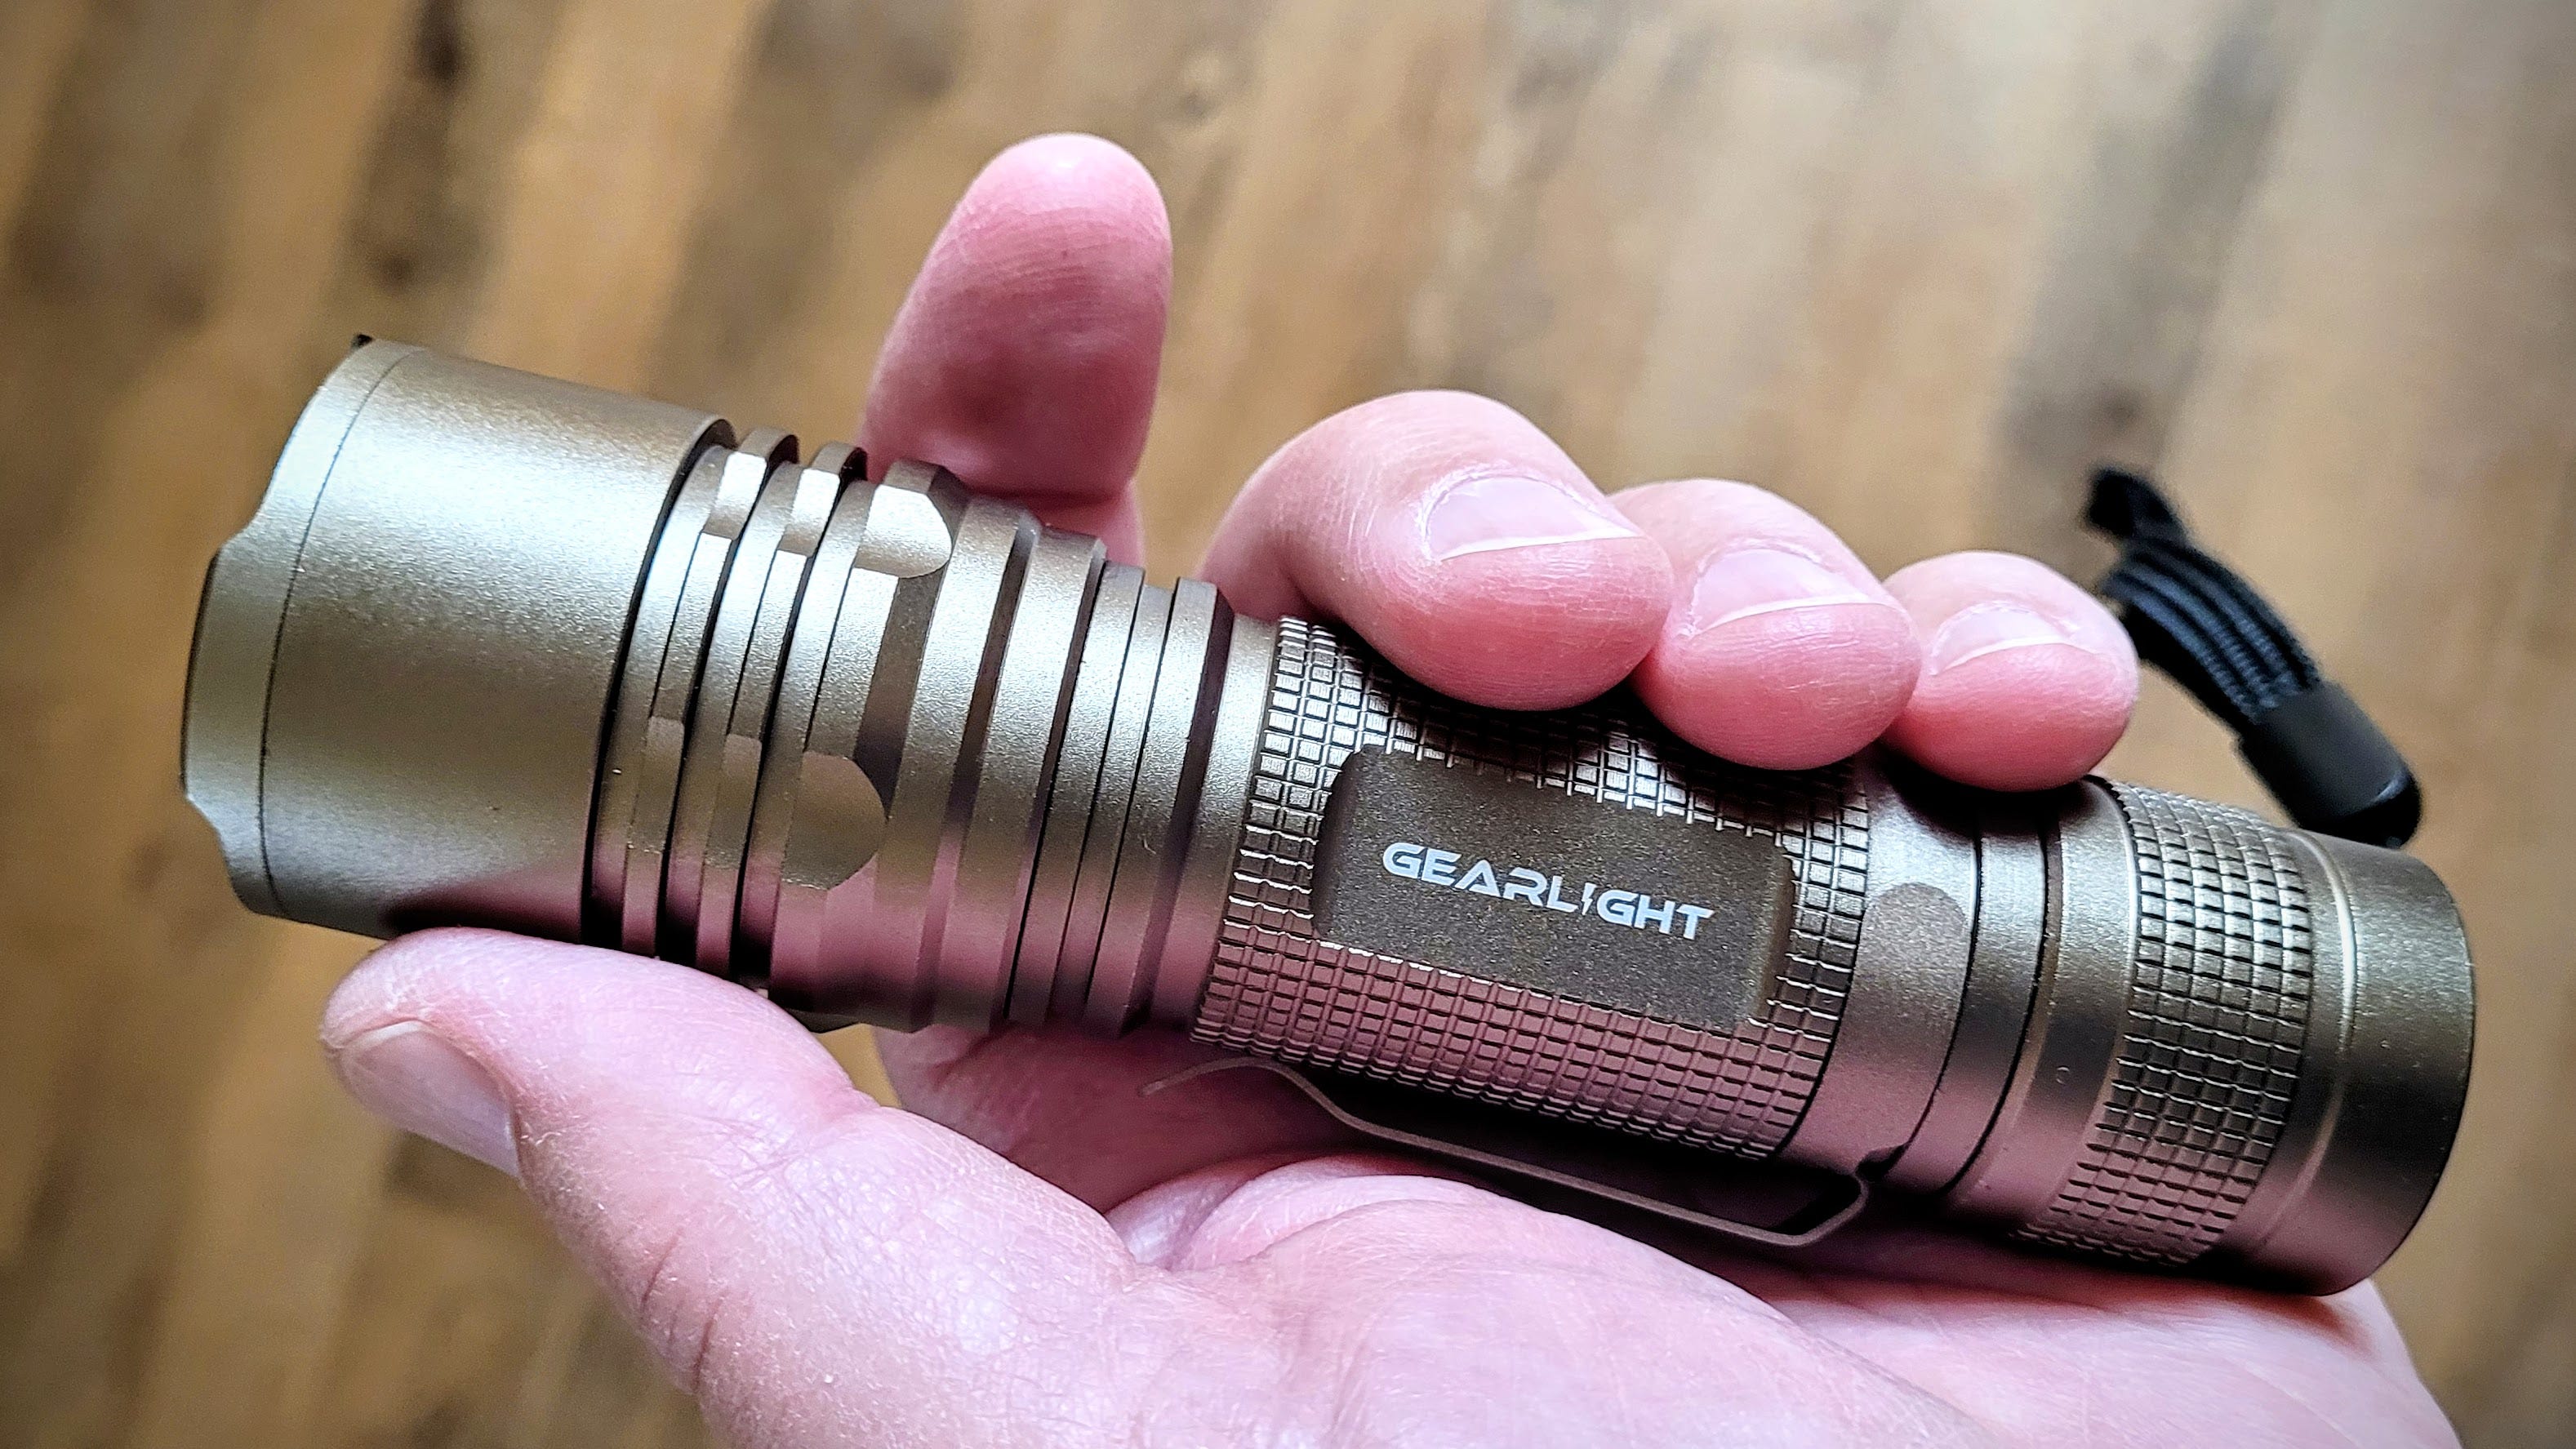
The GearLight TAC LED flashlight has a brightness of 1040 lumens, features an adjustable focus, is water resistant, and is made of aluminum.
It does focus from a tight spot to a much wider pattern. Sliding the front of the flashlight to change the focus requires a little effort, so it’s not likely to change in a pocket or bag.
And the thing is bright and simple. There are no modes like dim, medium, and bright, or flashing patterns. The end button is exactly what I wanted, turning the flashlight on and off. Nothing fancy. Just on and off.
What surprised me was this flashlight is a little larger than I expected. I usually like a smaller flashlight, but this time, I wanted a utility light that could live in the pickup truck and by the bed. It’s big enough to hold onto. It’s big enough to not get easily lost in a door bin or computer bag.
The knurling on the body of the flashlight could be a little more pronounced, but for a 10-buck flashlight, I’m not going to quibble.
The light comes with an insert that takes three AAA batteries, and a plastic sleeve that an 18650 battery fits into. In general, I don’t find AAA-battery carriers to be highly reliable, so being able to use a single, reliable18650 battery is a big plus for me.
If you want a few modes instead of just on/off, GearLight has an updated 2-pack for a few dollars more:
The S1050 lights don’t have clips. Unlike the push-pull movement for the TAC lights above, for the S1050 you zoom the beam by twisting. It takes AAA batteries or an 18650 battery.
73 to all. Remember to touch a radio every day!

Excelent blog! Thanks for all the detailed information about your projects.
I have requested and configured both HOIP and HH extensions a few years ago thanks to reading about it here in a past Random Wire issue. I'm sure you'll be able to configure HOIP in any device.
I had an idea while reading about your experiences with guest wifi. Thinking outloud: I believe it is possible to make a Raspbery Pi hotspot with two wireless antennas: one to connect as client to a guest wifi (like the nursing facility wifi) and the other to serve as the hotspot antenna. All this configured in a way that the raspi connects to the guest wifi, dials a VPN and serves as a hotspot that routes all the traffic through the VPN. That way all the devices you connect to the hotspot consume the VPN Internet connection without needing to dial it, since some devices can't dial it on their own.
I'll be glad to help you with this idea or in any VoIP project. I have some sysadmin, networking admin professional background that I can put at the service of some good amateur radio project. Feel free to reach me via email: lu6eow(at)hotmail(dot)com
73 from Javier LU6EOW
The very similar Kenwood TS-60 is my backup 6m radio. Works well.