Testing a cheap DMR hotspot
An eBay purchase may provide functionality similar to my Skybridge hotspot
The cheap hotspot alternative
I have an expensive Skybridge hotspot from Bridgecom Systems. It’s a nice unit that hasn’t given me any problems with my AnyTone DMR handheld radio. But since it is pricey, I don’t want to take it with me when I travel.
My use case is this: I want to take a hotspot with me when I travel so I can enjoy DMR while I’m away from home.
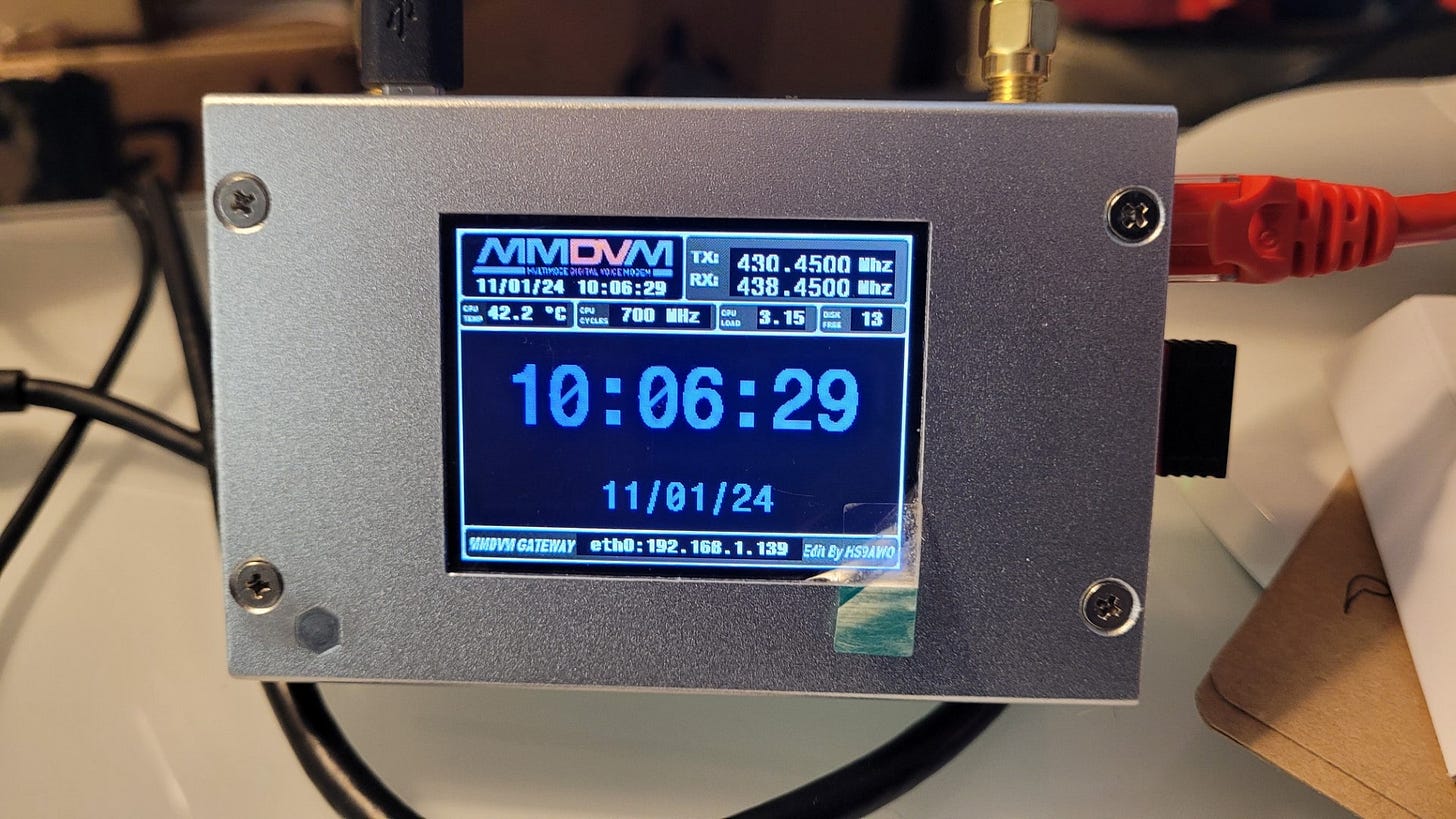
Rather than risk the costly Skybridge unit, I bought an inexpensive MMDVM unit on eBay. For $120, I got a Raspberry Pi with an MMDVM duplex hat in a metal case. Once I got it booted up, I encountered the Pi-Star interface, almost identical to what I have on the Skybridge hotspot. At first glance, it looked like I could get the same functionality as I enjoy with the Skybridge for a fraction of the cost.
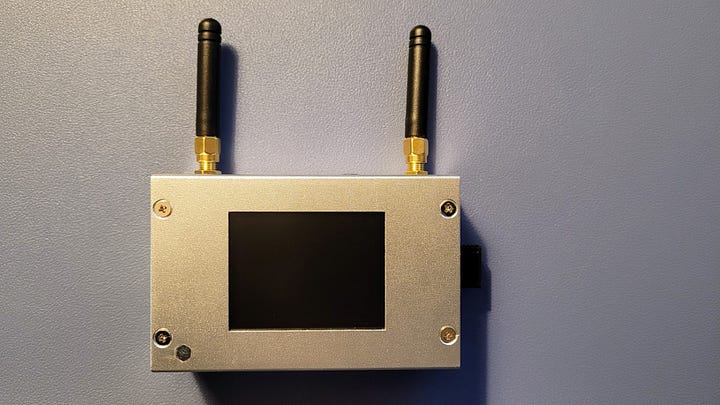
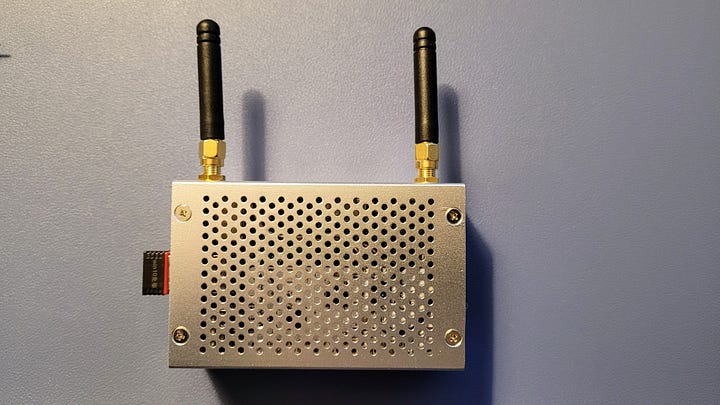
The case is metal and is well ventilated. There is no fan. I noted while operating the unit that it runs much cooler than does my Skybridge hotspot.
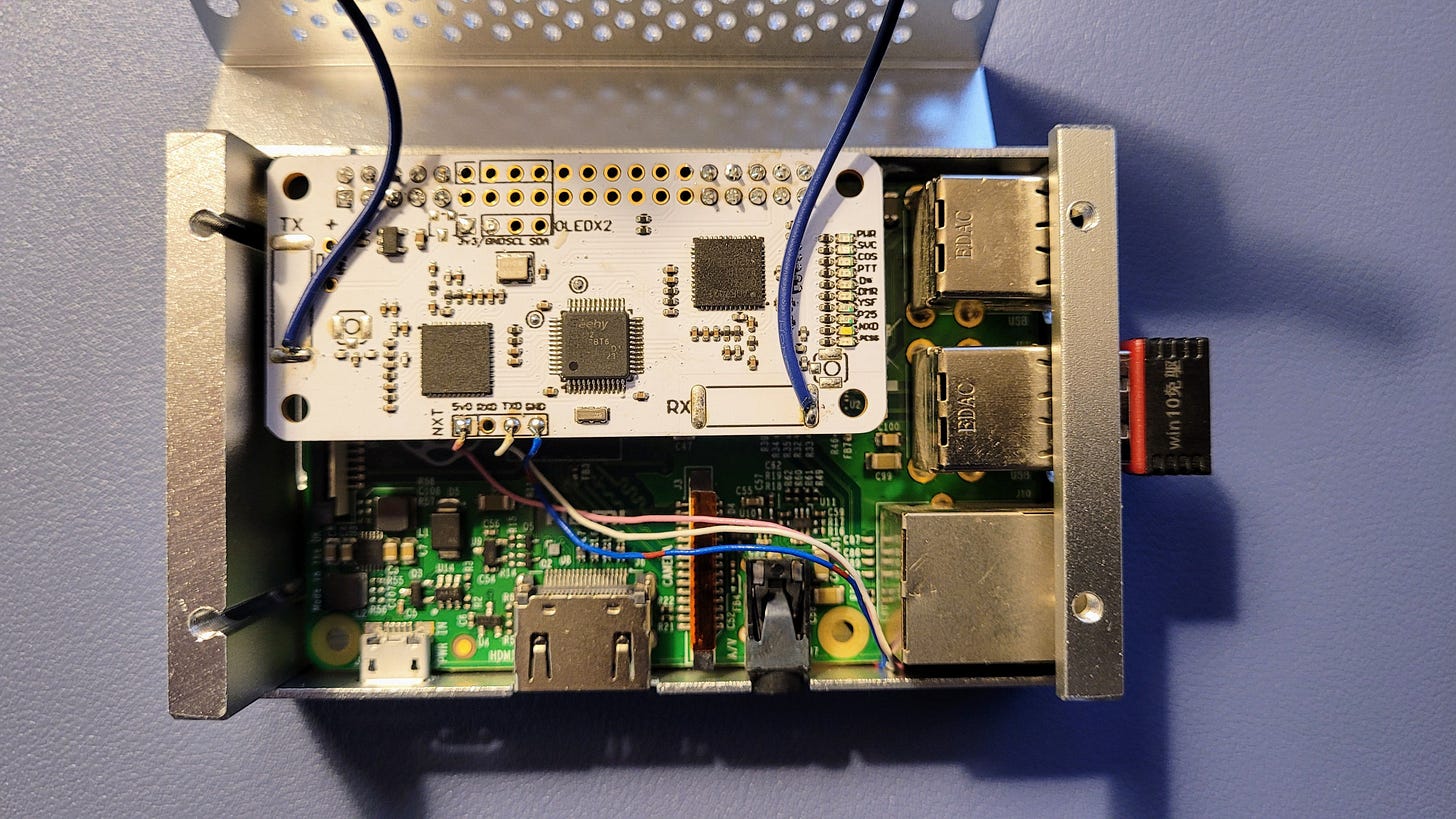
It has dual antennas. When I opened the case, I saw that one is wired to a TX pad on the MMDVM hat and one is wired to an RX pad. Wifi is available through a USB dongle. Power comes in via a USB cable to a port very close to one of the antennas.


Updating Pi-Star
The eBay product came with an older Pi-Star instance. I had trouble getting it configured for the Brandmeister network (perhaps because it pre-dated the update to Brandmeister API keys), so I chose to update the system. As with so many things we do in amateur radio, it wasn’t quite as simple as it sounds.
To write an image to a microSD card, I downloaded and installed Balena Etcher on my Windows 11 Pro computer. Then I downloaded and unzipped the latest Pi-Star image for my Raspberry Pi device. I used Balena Etcher to write that image to the microSD.
That was the plan. I’d like to report this went smoothly but there was a hiccup: the microSD card was stuck in the Raspberry Pi card slot! Normally, you can poke the end of the card and it will pop up. This card was inserted all the way in and there was no give or response when I pressed on it — no “spring” to it at all. I loosened the top half of the unit’s metal top enough to give me access to the microSD card, then used the tip of a small pocketknife to gently lever the card out of the slot.
After I got the card out of the slot, writing the image went smoothly. Once that process was completed, I put the card back in the cheap hotspot and booted it up.
Configuring the new instance of Pi-Star
After booting up the new operating system, I got a screen with no details on it. There is this moment where your energy just dies as you look at a device that is supposed to be updated but instead you see a blank screen. I’m sure we’ve all experienced a moment like that!
However, the new Pi-Star image just needed to be configured. To reach the configuration screen, you go to the IP address of the unit and add /pi-star/admin at the end. That brings up a configuration screen for Pi-Star. From https://www.pistar.uk/downloads/:
Remember, all you need to do, is download the zipped version of the image that is most suitable for your Pi / Single Board Computer, Unzip the download, and then flash the image to your SD card (using your prefered image writing tool - see links below for some basic instructions), boot the Pi, wait 30-40 secs and then login to the admin portal in order to finish the setup your Pi-Star: http://pi-star/admin/
Default Username: pi-star
Default Password: raspberry
Guy Plunkett M0GUY also provides some Pi-Star setup guidelines that are helpful.
I copied all of the settings exactly from my Skybridge unit. This was a quick way to get most of the way to the finish line. Along the way, I did run into some additional teachable moments.
Many teachable moments
#1 Linux fu
I didn’t realize I would need to pull out some Linux command line tricks to get wireless networking, well, working! Once I got the Pi-Star device booted up and logged into the Dashboard, I saw that the wifi interface was offline. To get it to come up, I SSHed into the terminal of the Pi-Star and issued this command:
sudo ifconfig wlan0 upIf that doesn’t work for you, search the internet for “how to bring up a wifi interface from the command line” and you’ll find many ways to accomplish this.
#2 Modem…which one?
When I upgraded the Pi-Star software, I lost the old configuration. Now that I’ve experienced the joy of reconfiguring the hotspot from the ground up, I did what I should have done first: I searched for how to backup the configuration. It turns out there is a built-in backup/restore function in Pi-Star. I should have looked for this before I updated the software!
This became evident when I realized I had not written down the name of the modem used for the MMDVM hat on the Raspberry Pi board. One would think it would be easy to figure out, but it was not. However, there is a way! SSH into the device and run “sudo pistar-findmodem” in the terminal window, like this:
The closest match to this is the modem in the Pi-Star configuration pulldown menu labeled as: MMDVM_HS_Dual_Hat (DB9MAT, DF2ET & DO7EN) for Pi (GPIO)
I tried that configured as a simplex node and as a duplex repeater. In simplex, it shows only Time Slot 2 as “green” and I can neither transmit or receive with that modem selection. As a duplex repeater, both time slots are green but I can’t send or receive.
I thought I would be clever and open up the unit to identify the chipset being used, but the markings on the chips were not readable:
And then ensued hours — yes, many hours! — of testing every modem configuration identified in the Pi-Star configuration in both simplex and duplex modes. The one that worked is labeled as: STM32-DVM / MMDVM_HS - Raspberry Pi Hat (GPIO) and then it worked only as a simplex node.
(I’m sure there must be firmware available that would allow me to use the full capabilities of this hat, but without knowing the manufacturer or model number, I’m not going to bust my pick on this [as we would occasionally say in my previous gold mining life!].)
By now you’ve probably realized what I was discovering: I bought a duplex node that is only working as a simplex node.
#3 Hotspot password
I forgot that my hotspot has to have a password and it has to match the password recorded in the Brandmeister SelfCare Portal.
I’ve updated the password several times using cut-and-paste to make sure I did not fumble finger it, but the device log at Brandmeister still shows an authentication failure.
#4 New API
I guess I’ve been out of touch with what has been happening in the Brandmeister world, because I didn’t realize I needed to update my Brandmeister API key. This is found in the SelfCare portal: click on your image and call sign in the upper right corner of the screen, select Profile Settings, and find the API Keys button on the right side of the screen.
Once you generate a new API number, copy it and paste it into the Pi-Star configuration:
In the Pi-Star interface, click Configuration in the menu bar.
Click Expert.
Click BM API.
#5 Conflict due to DMR number
Since I copied everything over from the Skybridge unit, that meant my DMR ID number was the same…and my ESSID suffix was also the same. That did not work. Eventually, I realized I needed to have a different number for the new hotspot so I used the ESSID selector in the Pi-Star configuration screen to add “01” to my DMR ID.
You can check to see if your hotspot is being properly recognized by Brandmeister by visiting this link and searching for your DMR ID or your callsign: https://brandmeister.network/?page=hotspots
#6 Sequence of events
So as I had these small epiphanies and made changes, I realized that I needed to do some of them over again because I had done them out of sequence. I should have done them in this order:
Add the ESSID number and save the configuration. This lets Brandmeister know this is a different device.
Set the hotspot password in the Pi-Star software and on the Brandmeister website. Save.
Generate a new API key and paste that into the Pi-Star software. Save.
Reboot the hotspot.
Test.
My duplex hotspot only works simplex
One of the the outcomes I was hoping for was an inexpensive duplex hotspot so that I could use both time slots simultaneously. When I made this purchase, I was hoping for something much less costly than the Skybridge hotspot that would also work in duplex mode. I got one of those things in that it is much less costly. For what it’s worth, a bit of searching revealed that I’m not the only person to have encountered this.
At the end of many hours of tinkering, I have a simplex that is working fine:
Links
Some of the most useful links I found on this particular journey are:
How can you find active talk groups on DMR? Try the “Last Heard” page at https://brandmeister.network/?page=lh. You can also look at specific talk groups to see how active they are at the moment. For example, here is the link to talk group 93: https://brandmeister.network/?DestinationID=93&page=lh
Got an AnyTone 878 handheld radio? Useful tips at https://brara.org/BLOG/2021/11/02/dmr-manually-changing-talk-groups-on-an-anytone-878/
Closing
I think I made this much more complicated than it needed to be. Had I given it a bit of forethought and planned my work, I would have made fewer missteps along the way. Those missteps cost me more than 10 hours as I dove into this without sufficient knowledge. By the end, however, I’ve learned much and have a spare hotspot to take with me when I travel.
Addendum: Oh what interesting things one learns after the fact. The MMDVM board in my cheap hotspot resembles an AURSINC board available many places. Here’s a link to the board on Amazon: https://www.amazon.com/AURSINC-Hotspot-Support-Raspberry-Without/dp/B08TLTF8WH. My board looks identical except for the things marked ARESQ 5432 where the Tx and Rx pads are on the board. It turns out the 5432 is a ceramic antenna.
But what is most interesting are the claims from various users of this board that it cannot be upgraded. The firmware is, apparently, locked by the maker. That means I’m stuck with what I have: a simplex hotspot.
So here’s what I’m going to do. I’m going to build an MMDVM duplex hotspot from components: an RPi 3B+, an MMDVM duplex hat, a nice case, and an RPi 3-amp power supply. With luck, I’ll have this put together and operating within a couple of weeks. The total cost with components is only about $40 more than the cheap eBay hotspot.
The takeaway here is the cheap eBay hotspot is probably not your best buy.
Fingers crossed.


Can anyone tell me what software I should use for a Dual hotspot?
I picked up a couple different cheap duplex hotspots. One of them pretty much worked out of the box aside from setting up to the wifi. I was able to update the pi-star software by using the built in update function.
The other one, which looks like the one you have, was a bit more challenging as I had to select a modem type as well as the screen type and port. I spent a few hours on that one, bit in the end it works fine.
So I now have two duplex hotspots for about $225 total. One tiny one with white OLED screen and a loud-ish fan, and the other, like yours, fanless and silent with a three inch full color LCD screen.