Assembling a DMR hotspot from components
Build a DMR duplex hotspot that works as well as expensive pre-built units
Welcome to The Random Wire℠. If you received this from a friend, I invite you to subscribe.
What
I have been wanting a duplex hotspot for DMR that doesn’t cost an arm and a leg! I recently bought one on eBay that did work on duplex until I upgraded the Pi-Star software. The new software doesn’t support the duplex operation of the MMDVM hat, but the unit operates fine as a simplex hotspot.
MMDVM stands for Multi-Mode Digital Voice Modem
A duplex modem allows you to use time slot 1 and time slot 2 on the hotspot. A simplex modem only supports one time slot. One use case for a duplex modem is to monitor a talk group on one time slot while talking on a different talk group using the other time slot.
Cost
If you just want a duplex hotspot without piecing one together yourself, you could try the DMR Hotspot Pro duplex Pistar Wifi and Ethernet RJ45 for $149.99. That unit looks pretty sound for the price. Also, check out:
There are many other places to find pre-built hotspots, including eBay and AlieExpress. The problem with some of the lowest cost units available from these vendors is that you don’t really know the quality of the components you are getting.
I wanted to build a good quality hotspot. If you take more time than I did to shop for components, I’m sure you can reduce your out-of-pocket cost significantly.
Components
Case
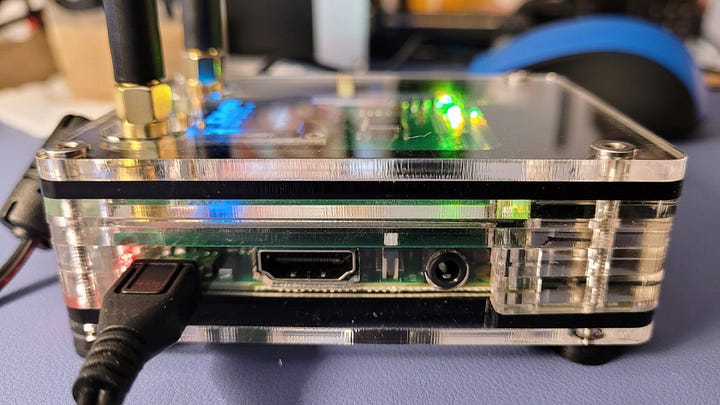
I selected a case style similar to my ClearNode device as it has been both attractive and sturdy: Zebra DRPi-1S .096 Screen Case – Raspberry Pi 3 B+ and Duplex MMDVM (Black Ice). The two devices will look like a matched pair, sitting on the same shelf.
Unboxing the C4 Labs case:
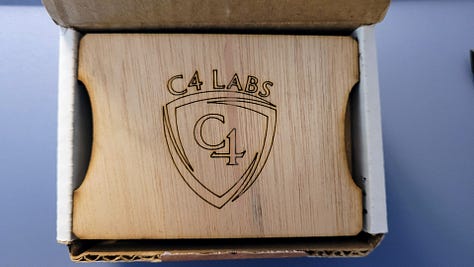


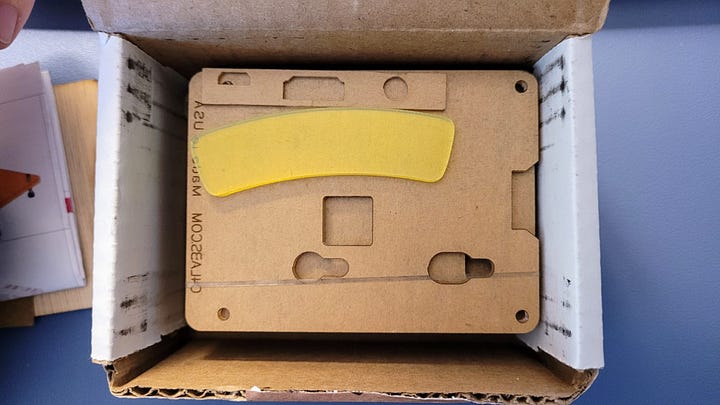

This case is sized to accept the MMDVM duplex hat with a small OLED display screen. Ratings on Amazon have been very good.
One reviewer said this about the case:
“…a series of stacked layers built around the Pi and hotspot. Follow the instructions carefully (they are online if you don't receive instructions with the shipment), and make sure everything fits securely and correctly in the previous step, before going on to the next step. Otherwise, you'll find yourself backtracking to correct the fit. Plan to devote about 30 minutes to the assembly. When finished, it's a solid product that looks sharp. Once it's on, you shouldn't ever have a need to remove it.”
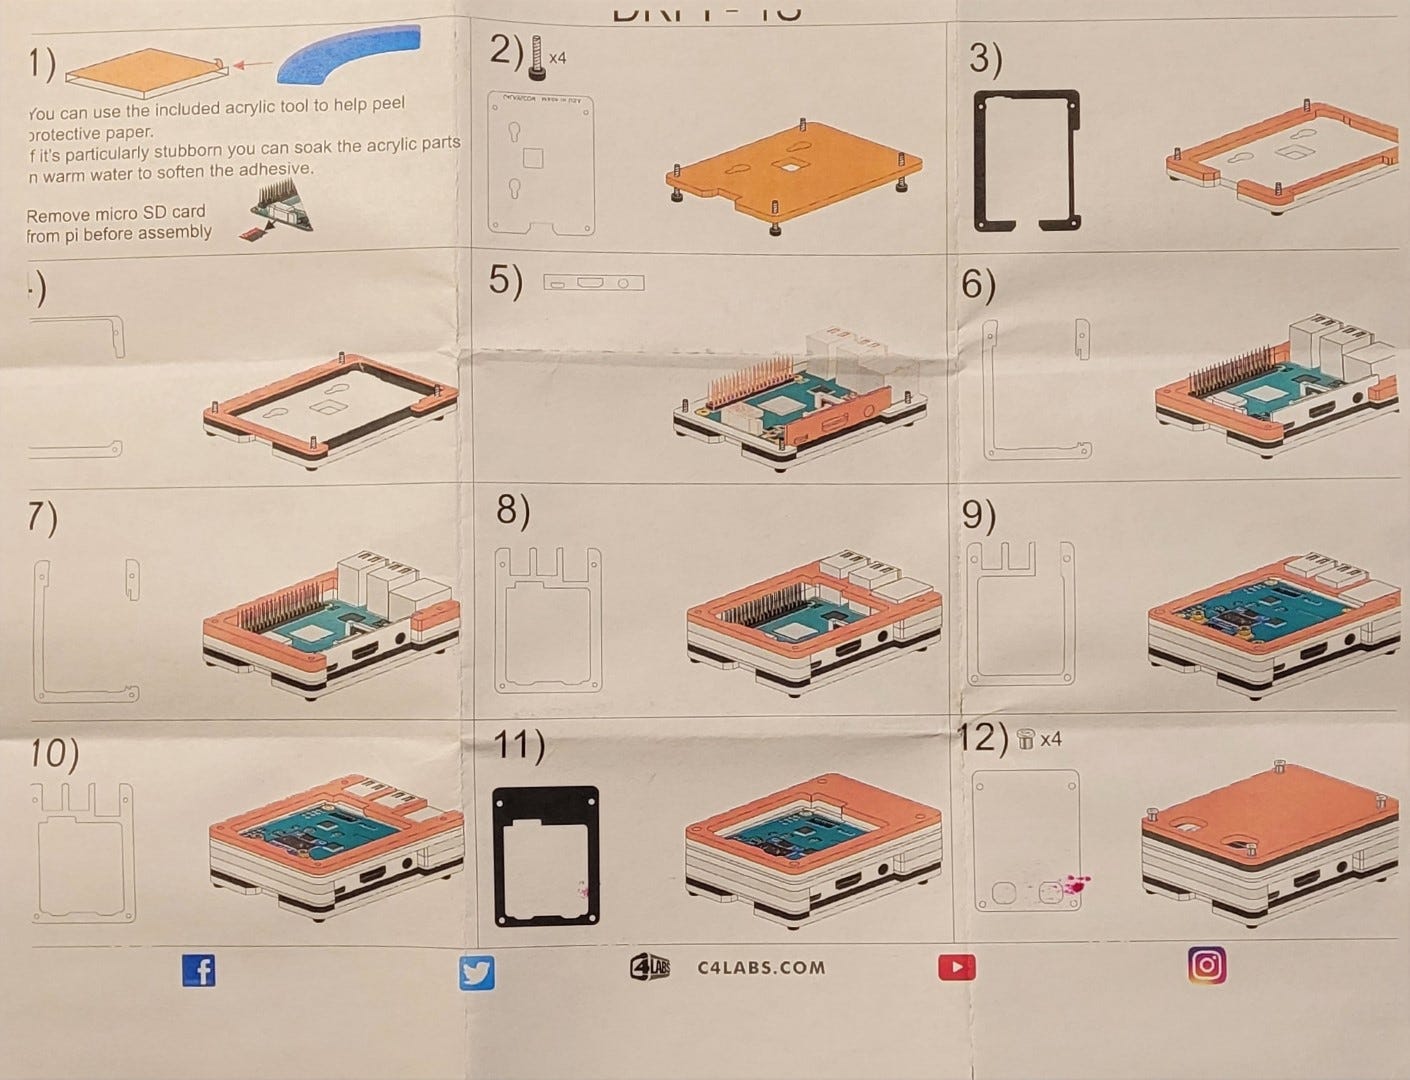
It’s a nice, compact package that has been cut with precision. Each panel is covered in a self-adhesive protective paper. A tool (yellow in the photo below) to help catch an edge of the paper, making it easier to peel off the protective layer.
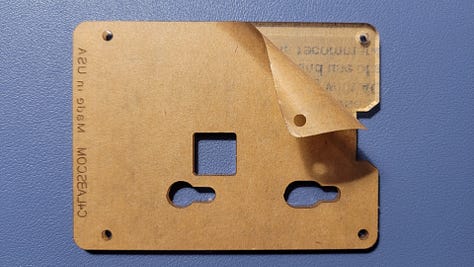


Assembling the case is the fiddliest part of this project. The case fits the Raspberry Pi 3B+ board exactly. The board doesn’t drop into the opening. You have to fit it with some pressure from your thumbs. I didn’t think it was going to fit but after spending about five minutes on it, it finally snicked into place perfectly.
Be patient and take your time. You don’t want the MMDVM hat on it at this point and you don’t need the microSD card inserted yet. Just get the RPi board seated perfectly and then proceed.
If I remember correctly, I pressed the RPi board into place after step 4 in the case assembly instructions. Getting the side panel into place in step 5 was even more fiddly, being very precisely cut. I kept at it until it clicked into place. After step 8, I placed the MMDVM hat on the RPi.
MMDVM hat
I selected the MMDVM Duplex Hotspot Module Dual Hat with 0.96 OLED Display V1.47 Support P25 DMR YSF NXDN DMR Slot 1 + Slot 2 for Raspberry pi (with OLED) because the reviews were very good, although a few purchasers reported their first board was defective.
Installing the hat could not be easier. There are no screws or posts to install in this build. You simply line up the holes on the underside of the hat with the GPIO pins on top of the RPi board. Be gentle when getting the pins and holes lined up, then gently press the hat down evenly on the pins. Done.
After I got the hat installed, the operating system configured, updates installed, and the system operating, I found that just as with my cheap hotspot, I could only use the duplex board in simplex mode. Judging by the green-color indicators, It appeared to operate fine in duplex mode, but it does not hear my AnyTone radio when configured as a duplex hat. In simplex mode, it works perfectly. I hold out hope that a future update will resolve this deficiency.
Raspberry Pi
The Raspberry Pi 3 Model B+ Board (3B+) has been a solid performer in my other builds. It seemed like the right-sized tool for this job.
The RPi 3B+ has wifi onboard. I tried using a wifi dongle and saw CPU usage in the +20% range at idle. During QSOs over the hotspot, it would intermittently reboot without warning. Digging through the system logs, I saw references to wlan0 not being found. Those events seemed to be tied to the reboots, so I removed the dongle (wlan1), rebooted, and the machine has been stable ever since. I saw CPU usage drop to about 5%.
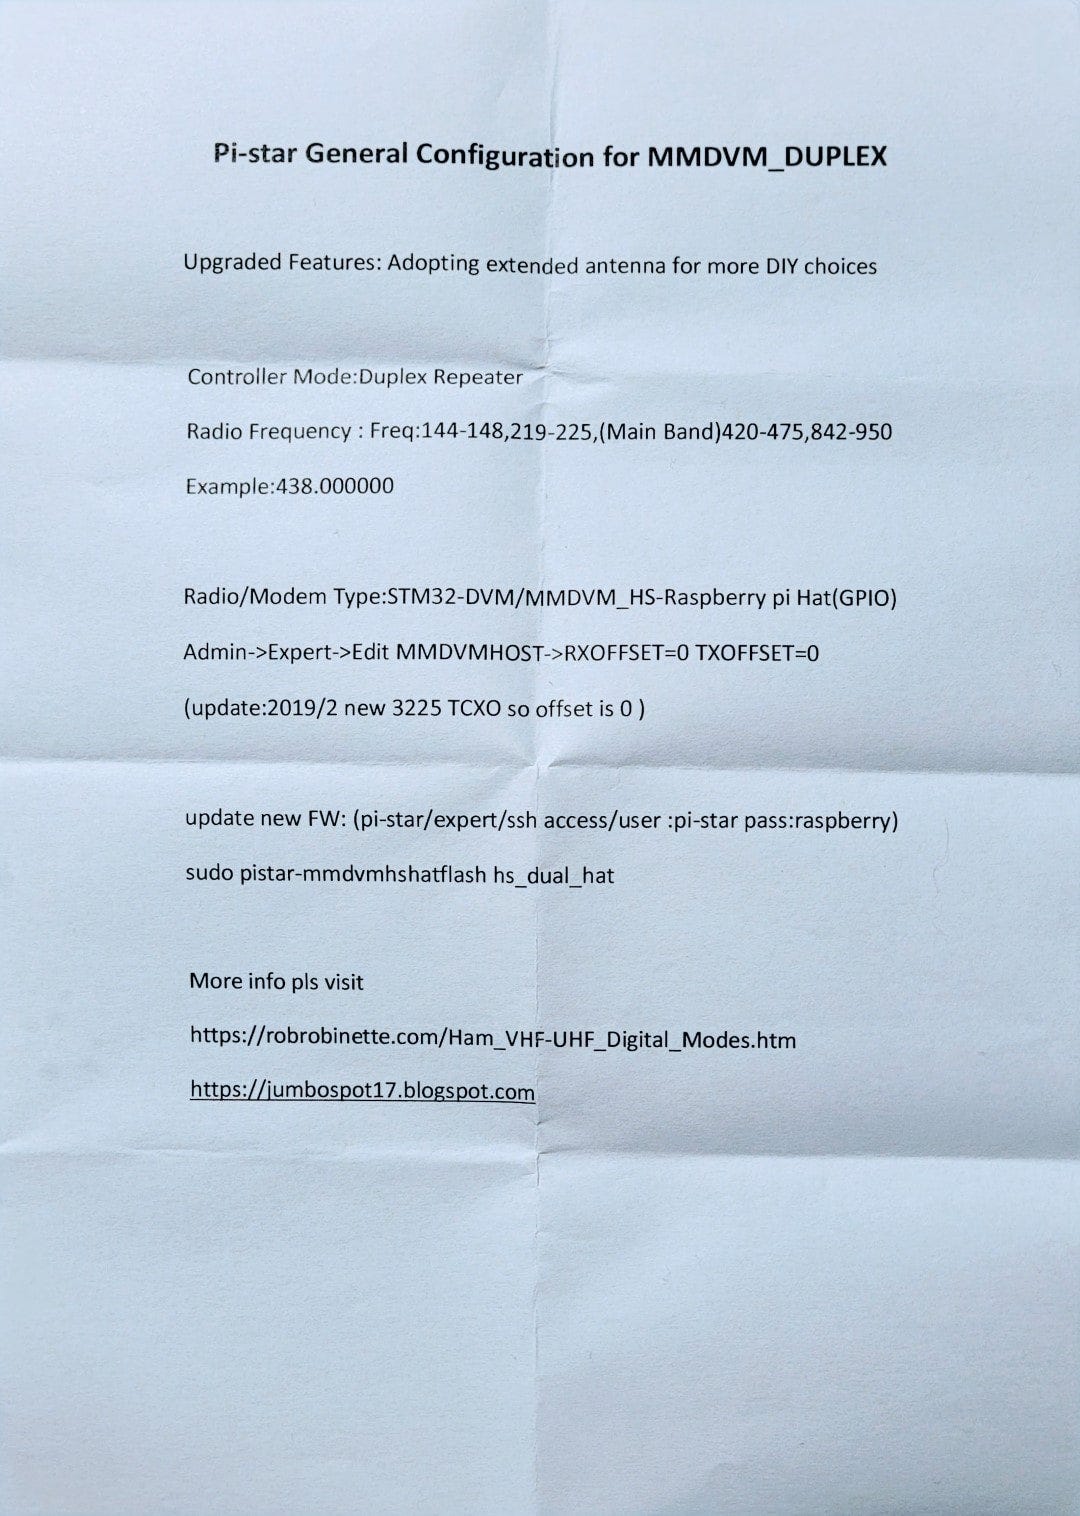
Pro tip: use the WPSD WPA / WIFI Configuration Generator to create a wpa_supplicant.conf file before you start configuring WPSD. You create this file using the online form at https://w0chp.radio/wpa-config-generator/ and then place that file in the /boot folder of the microSD card. When WPSD boots, it finds that file and just like that, you are connected to your LAN.
Power supply
My experience with the ClearNode revealed that I can reduce some RF interference by using a good quality power supply. The CanaKit 5V 2.5A Raspberry Pi 3 B+ Power Supply/Adapter (UL Listed) should provide fairly clean power to the hotspot.
Pi-Star or WPSD?
After my post about a cheap DMR hotspot, my club president emailed me about the WPSD Project as an alternative to Pi-Star. In this build, I am giving WPSD a try. As you can see below, the Dashboard view looks quite different from Pi-Star:
Why WPSD? It is purported to be simpler to configure. WPSD connects to a DMR gateway that can connect to various other servers. Spending a few minutes at the WPSD page that explains this is worth your time if you’re thinking of trying WPSD.
One gotcha is remembering to add a Brandmeister API key to WPSD. Find the hard-to-find entry field under Configuration —> Advanced —> Full editors —> DMR —> Brandmeister API Key.
Views
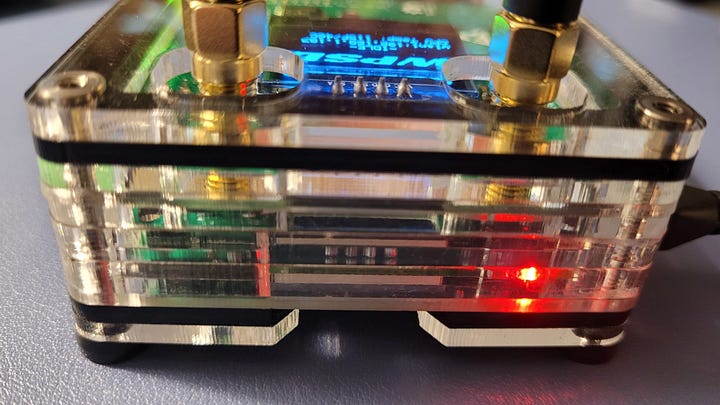


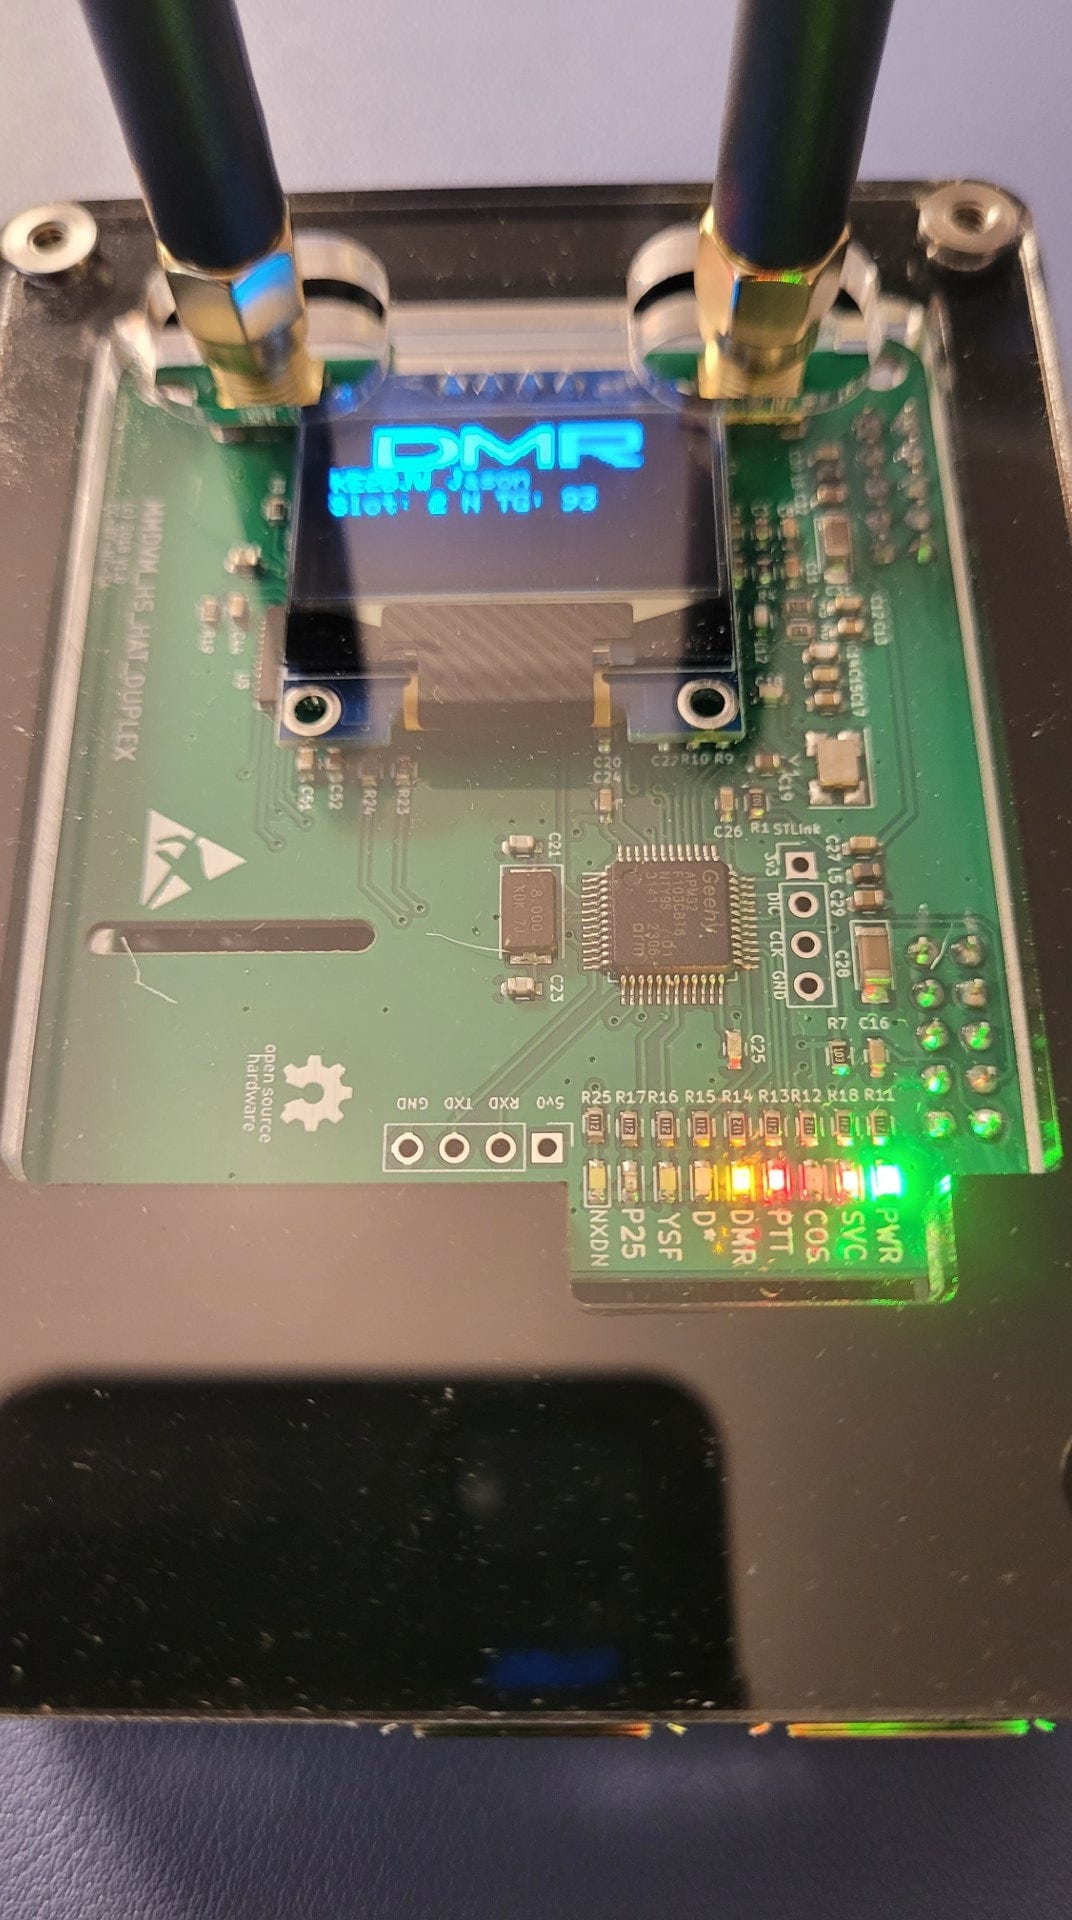
DMR and COS LEDs
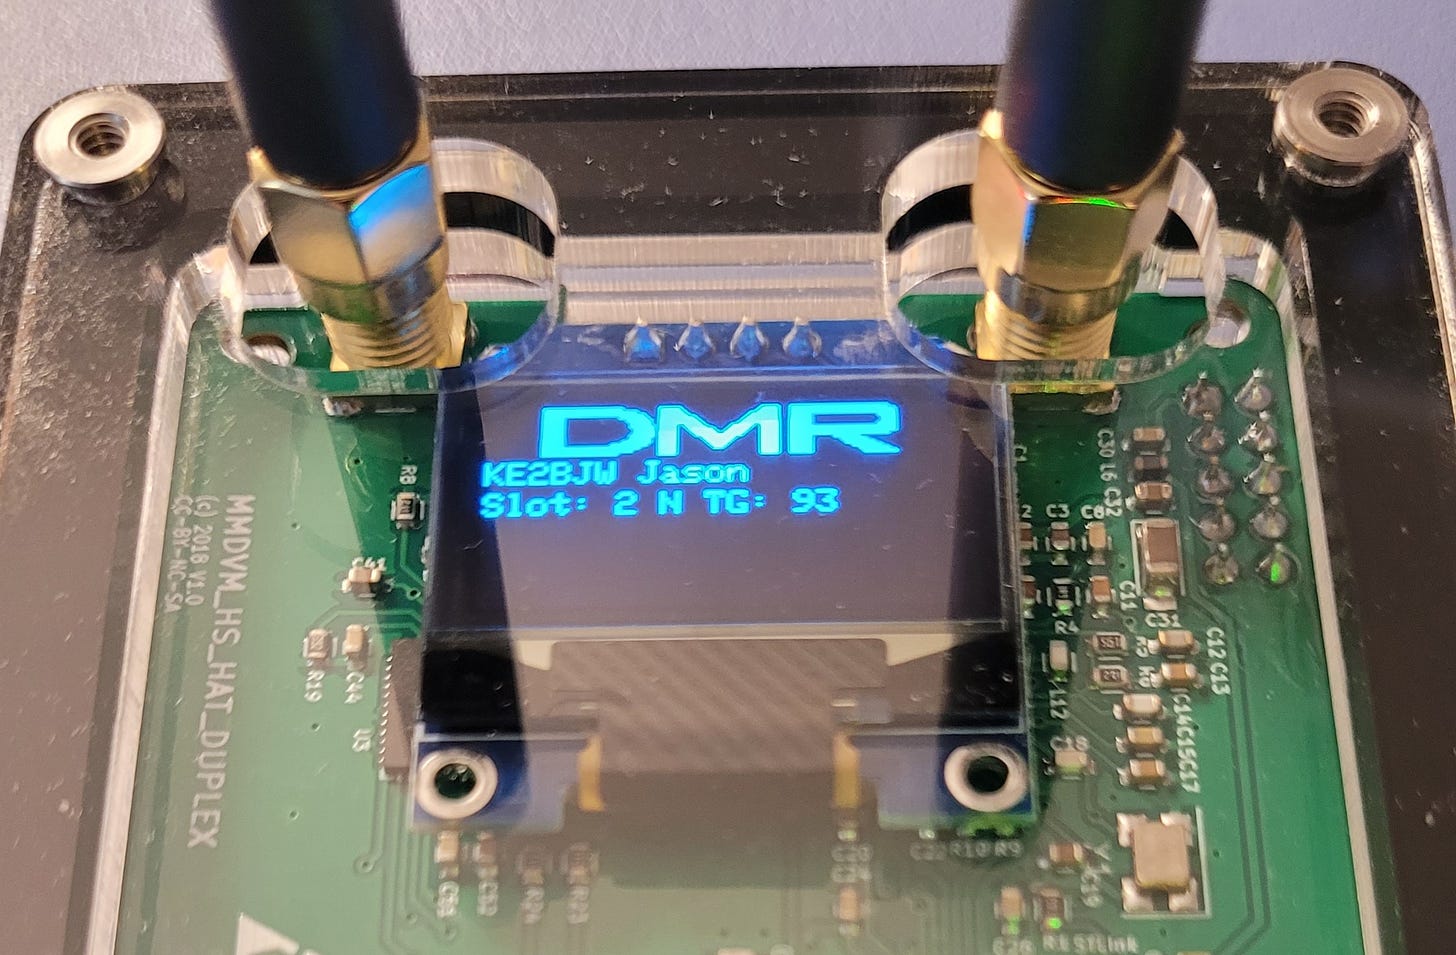
Finally, I thought it might be helpful to show you the LEDs that illuminate when a transmission is happening:
I snapped this photo when Jason KE2BJW was transmitting on timeslot 2 in talk group 93 (North America).
Final thoughts
Build difficulty: easy.
Component cost: about the same as buying a pre-built unit.
Quality: excellent.
Difficulties:
Fitment of the RPi board in the cast was tight.
Figuring out my random rebooting problem took extra time.
Disappointments:
I have a simplex hotspot when I wanted a duplex system. I hold out hope that a future update will resolve this.
And that’s it! I now have a cheap DMR hotspot suitable for tossing in a suitcase, and a very nice hotspot that might end up living in my office in Olympia, Washington.




I just moved from pi-star to WPSD because it is still developed.
Hello Tom.
Nice article.
I also purchased a duplex hot spot, but need to run as simplex.
I think the two antennas are too close to each other and desensitizing the two time slots when running as duplex. I plan on attaching a meter or two of coax and adding some distance between the antennas to see if that mitigates the issue.
Cheers!
-Steve